Mini Tutorial: How To Sew A Star-Shaped Faced Slash Pocket
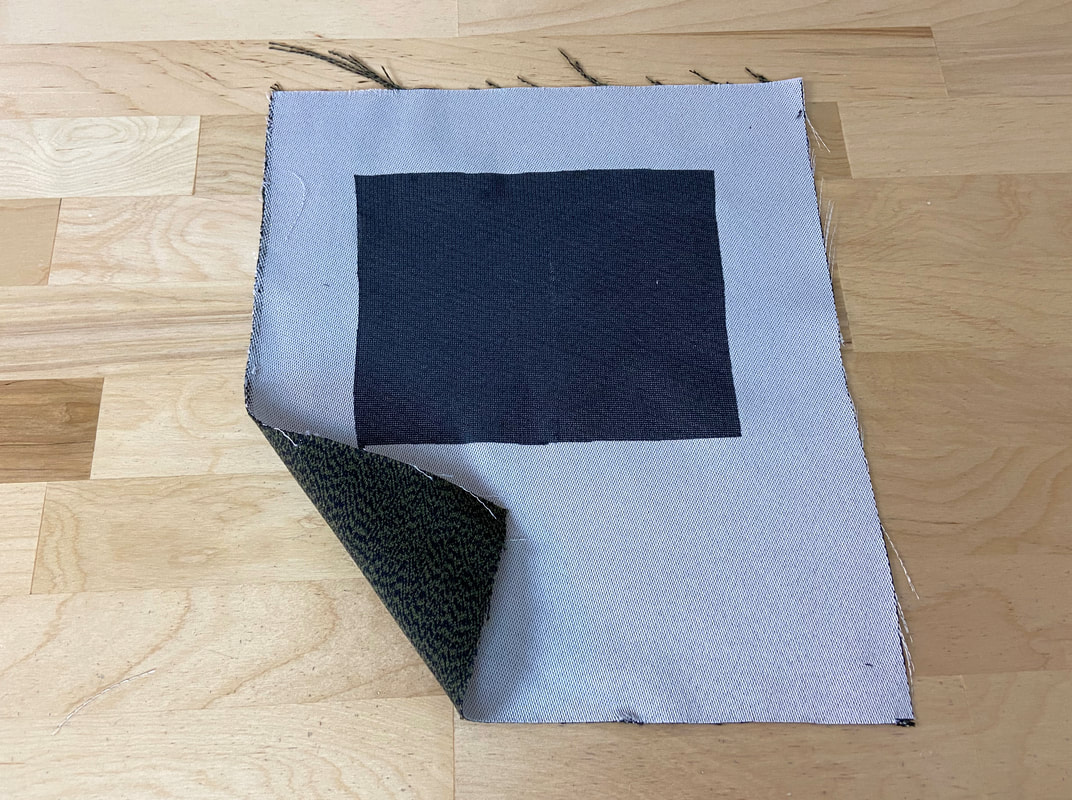
1. Fuse a piece of interfacing to the wrong side of the garment at the desired pocket location. The interfacing should extend about 1" past the pocket lines.
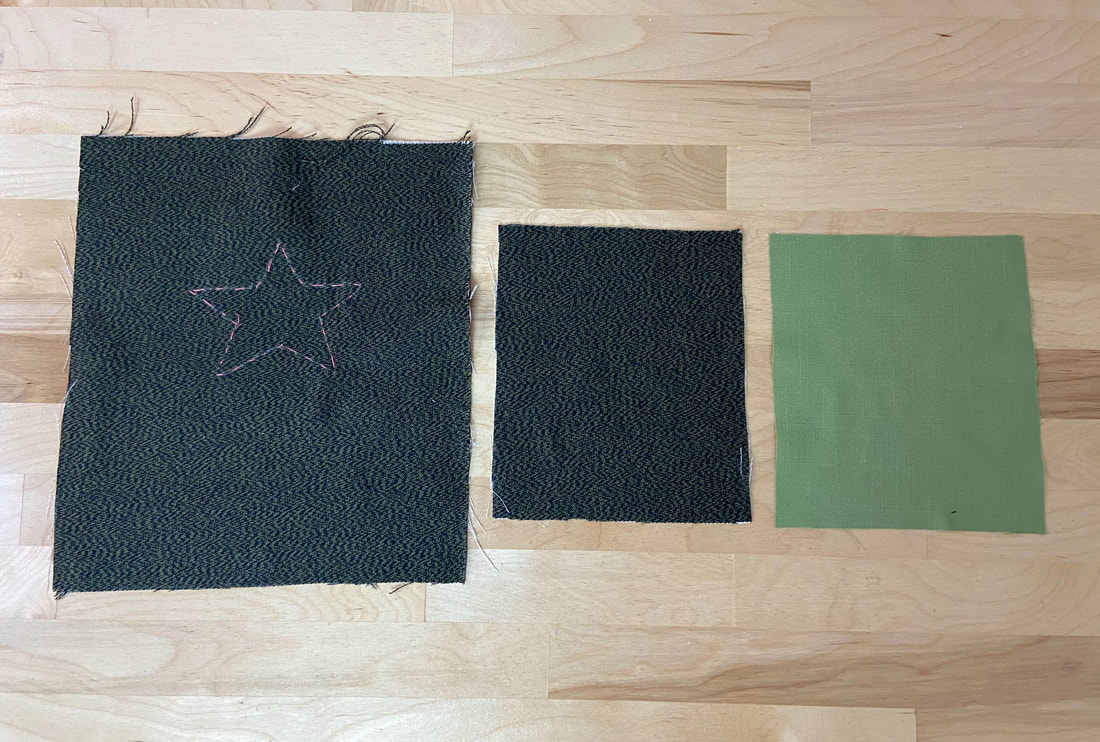
2. On the garment's face side, mark the star lines using a hand basting stitch as shown. It it easiest to first draw the shape with tailor's chalk or a quilting pencil, then trace the lines with hand basting.
Cut two identical pocket bag pieces that are 2" wider than the star pocket opening. The length should be calculated by adding the desired pocket depth plus the pocket opening height (3" in this case) plus 1" to account for all necessary seam allowances.
Conventionally, one pocket piece is cut from the same fabric as the garment and will be used as a facing to clean-finish the star pocket edges. The second piece will be visible at the pocket opening and can either be a contrast fabric (as shown above) or the same fabric as the garment (if not too bulky).
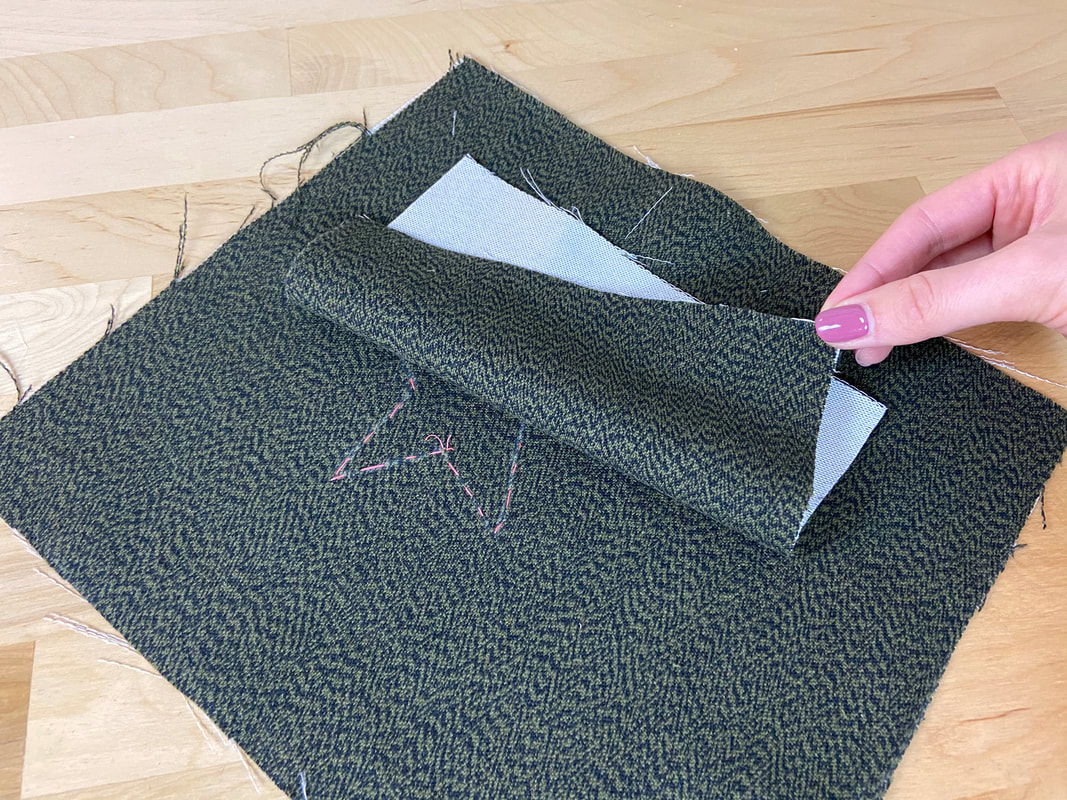
3. Place the facing (matching fabric piece) on top of the marked star lines with fabric face sides touching such that the pocket layer goes past the pocket opening lines by 1" at the sides and top.
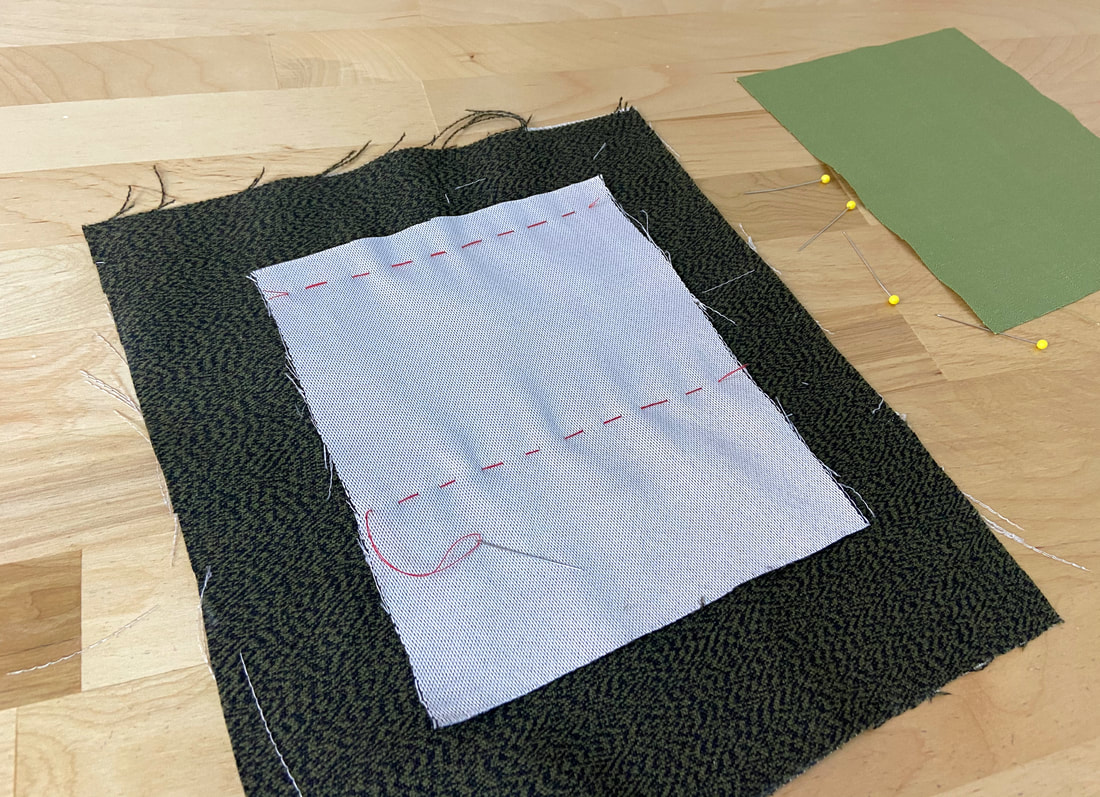
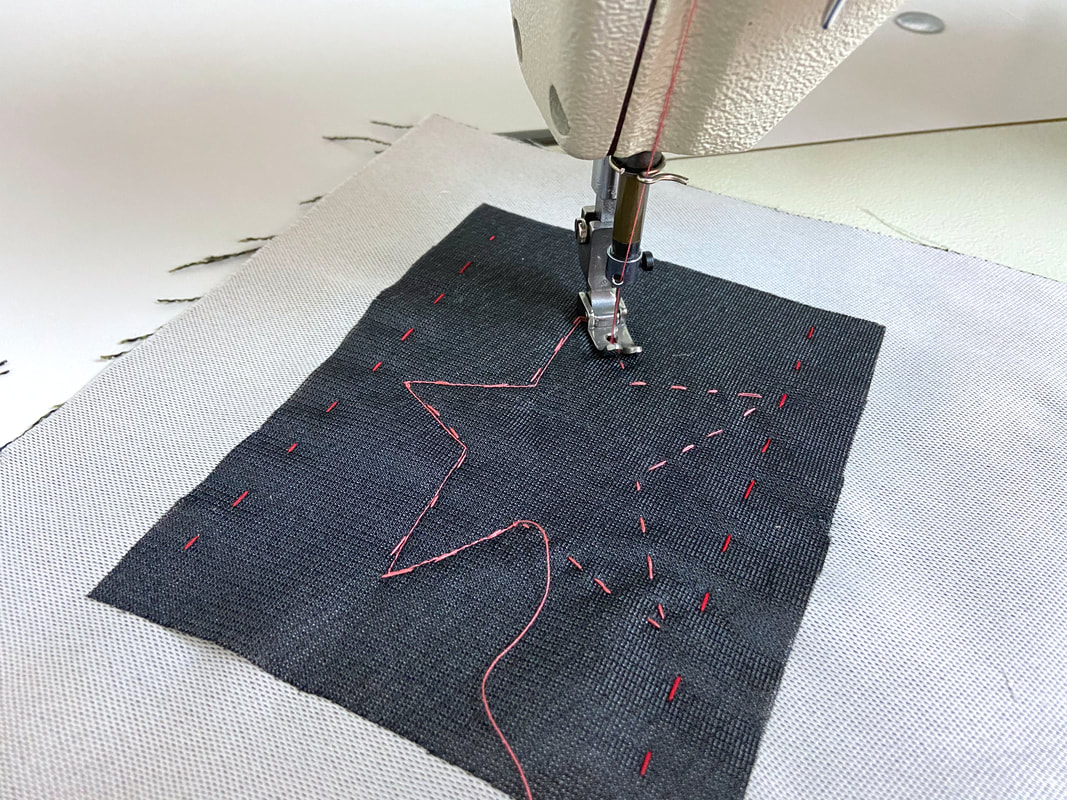
4. Hand baste the pocket piece to the garment layer underneath. The hand basting should be applied around the marked pocket lines and not directly on top of them.
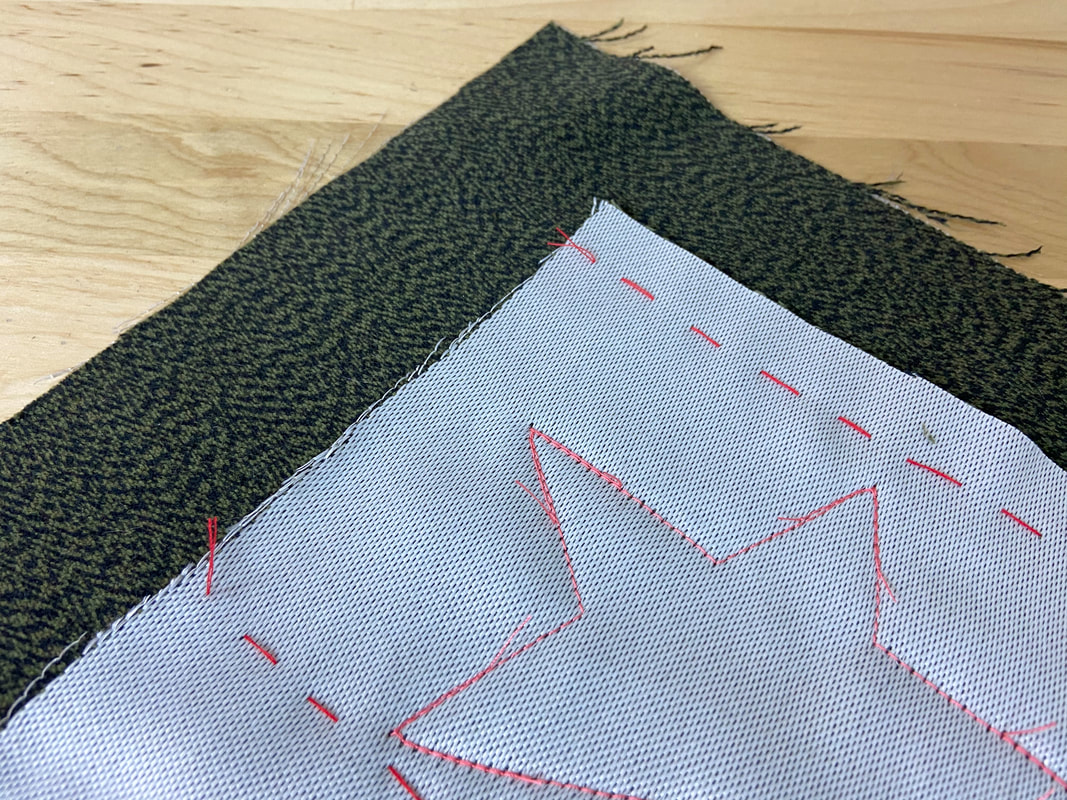
5. Working on the garment's wrong side, stitch directly on the marked hand basting lines until the star-shaped stitch is complete.
6. For increased durability, stitch over the existing stitch at each corner, covering a distance of about 1" on each side. This stitch overlay will reinforce and strengthen the corner edges.
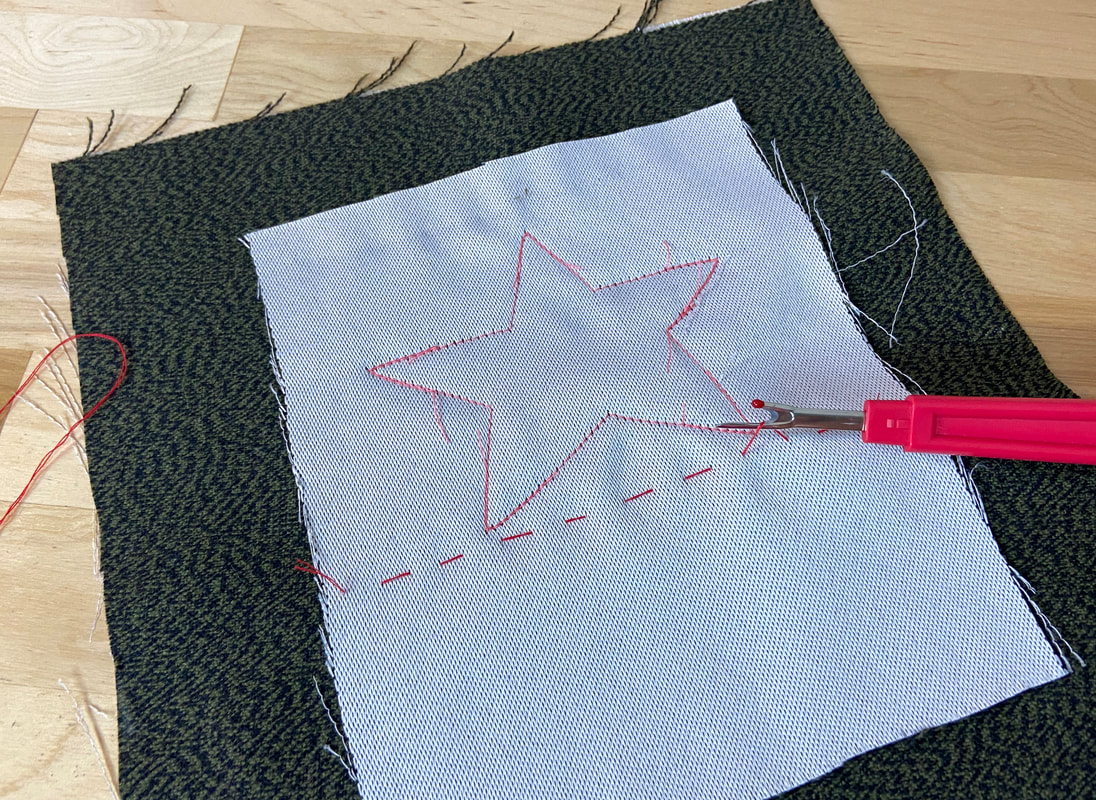
7. Using a seam ripper, remove the hand basting applied in Step 4 above.
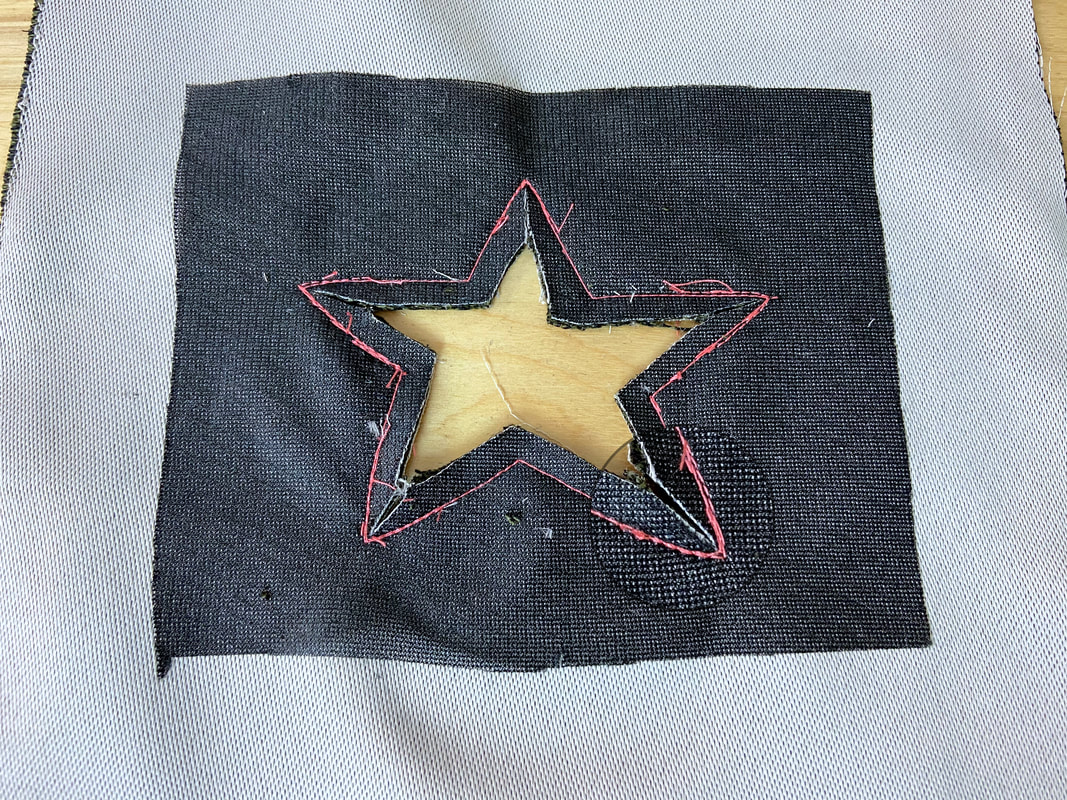
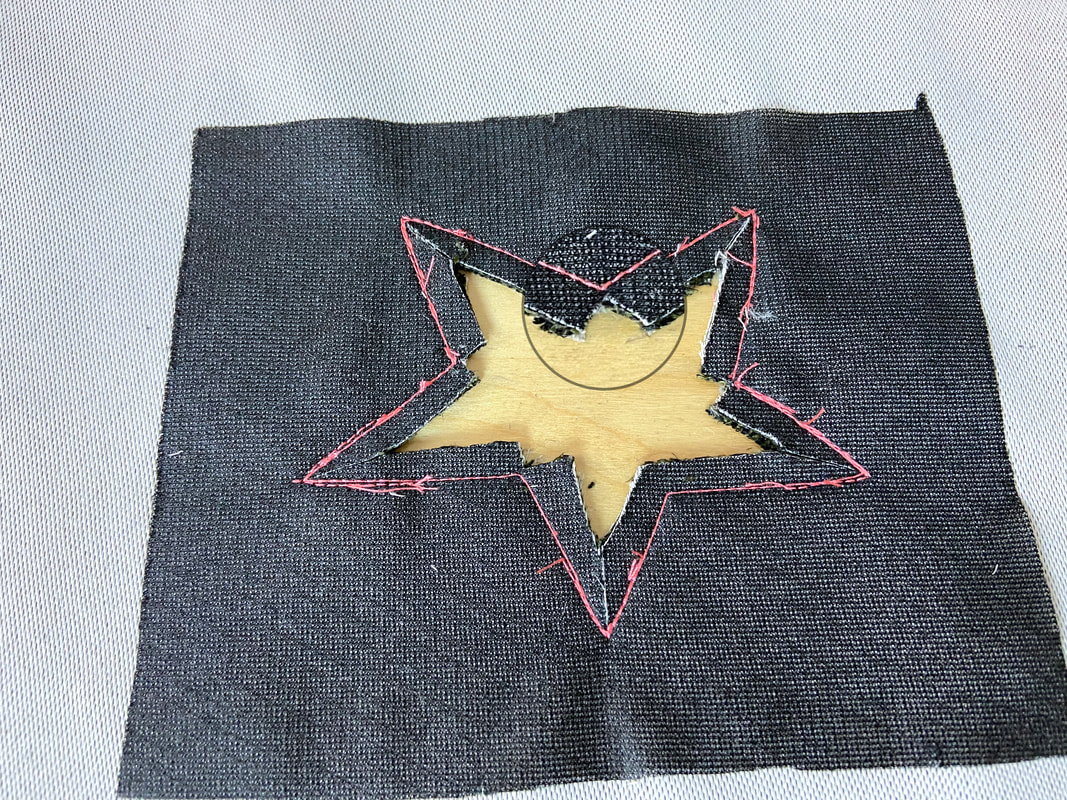
8. Cut out the inside of the star excess leaving about 1/4" seam allowance along each edge.
Next, slash into each inner corner as shown above. You should cut as close as possible to the corner stitch being careful not to accidentally clip it.
Next, slash into each inner corner as shown above. You should cut as close as possible to the corner stitch being careful not to accidentally clip it.
9. Next, trim wedge notches at the star's outer corners as shown above. Removing these excess wedges will eliminate bulk and unnecessary thickness in the finished pocket application.
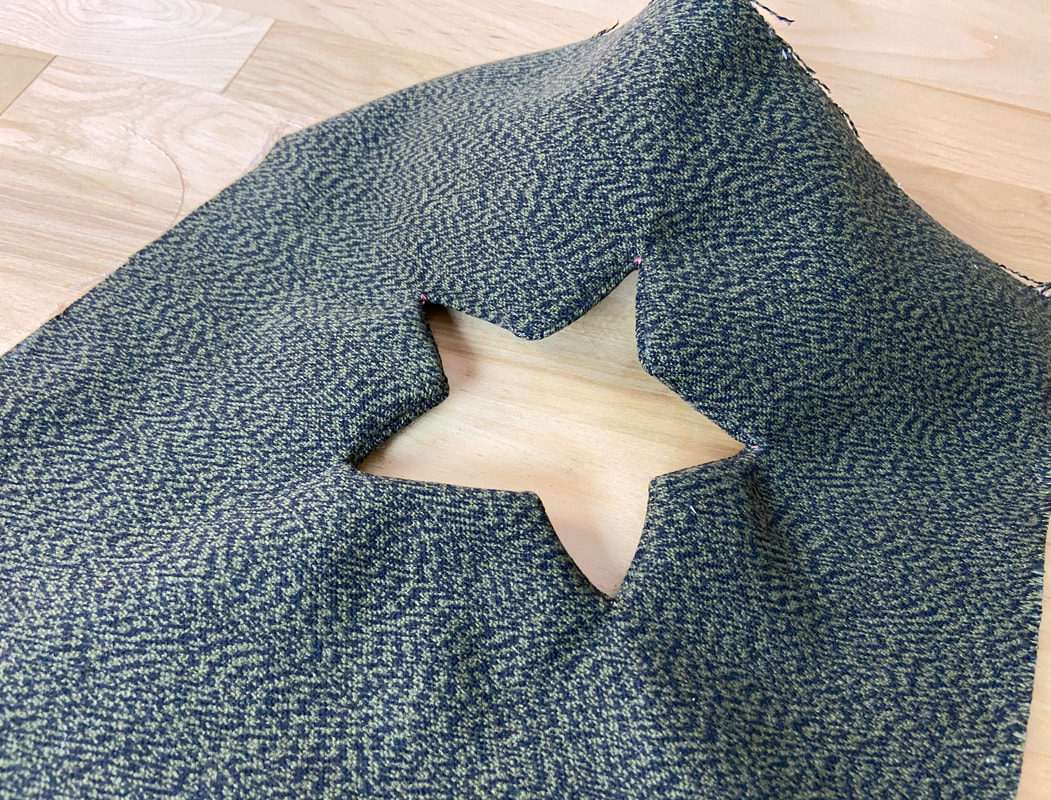
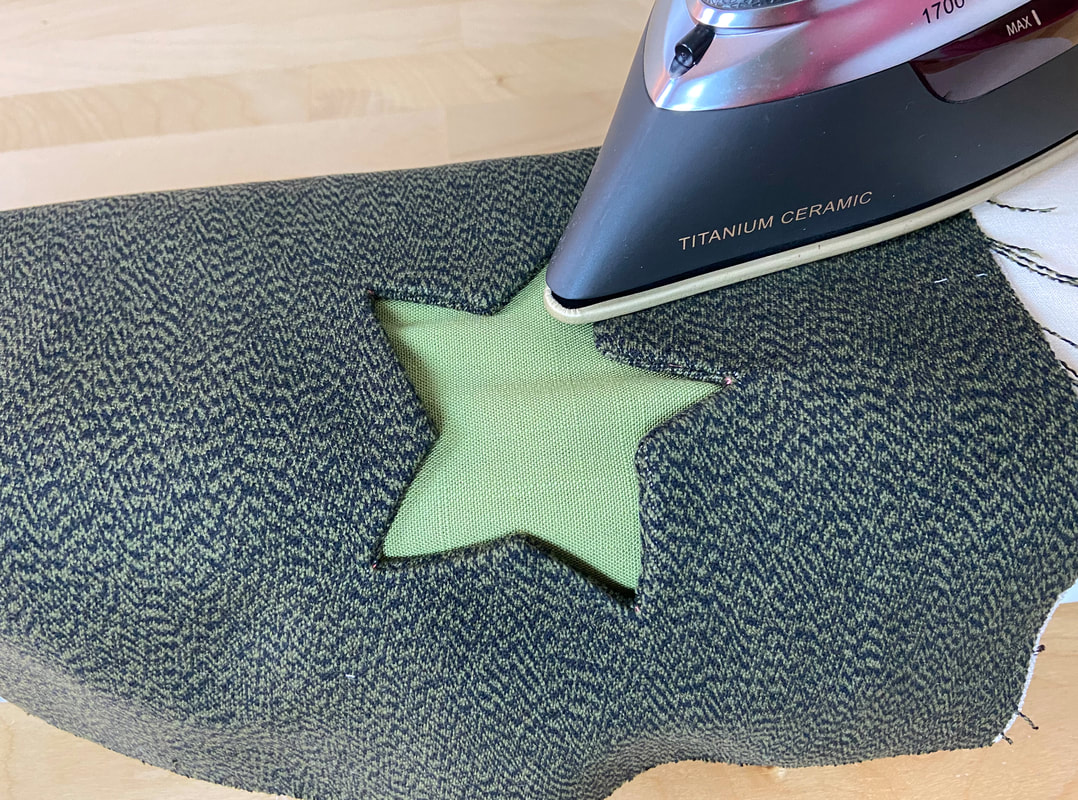
10. Flip the pocket facing to the wrong side of the garment to expose the star's finished edges. Flatten these edges with your hand or iron them for added stability,
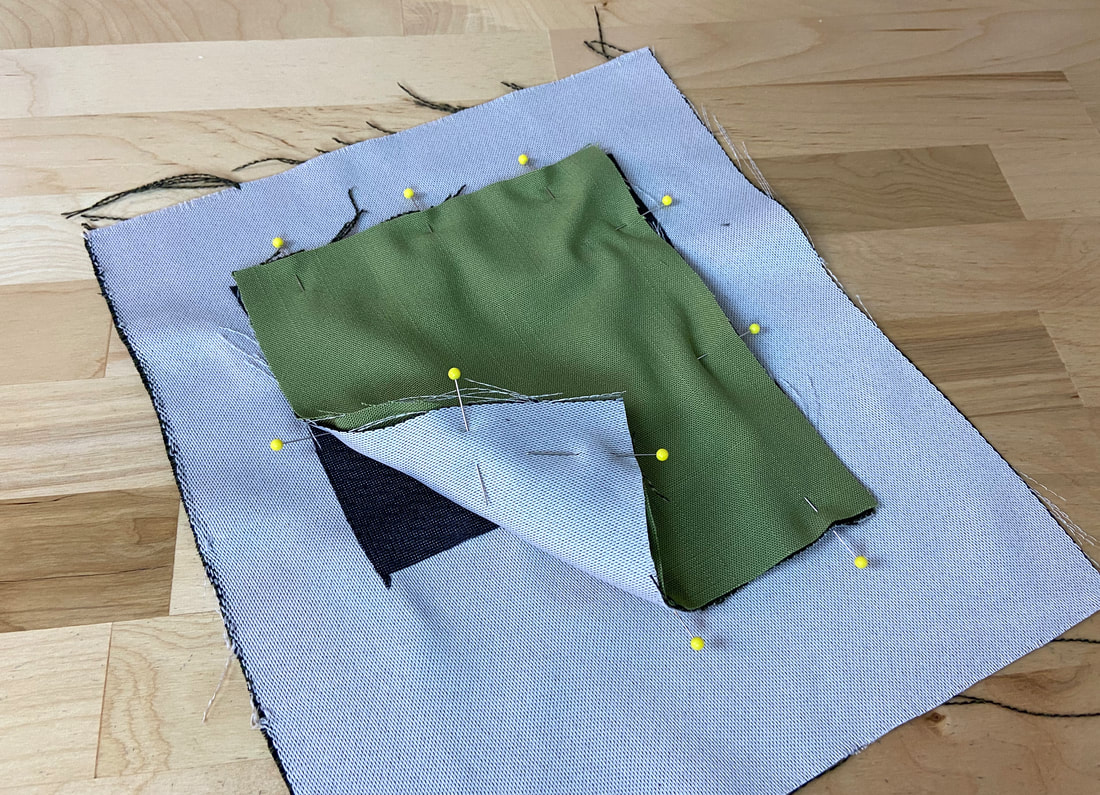
11. On the wrong side of the pocket application, place the remaining pocket piece on top of the facing such that all edges align, and insert pins perpendicularly to secure the layers together.
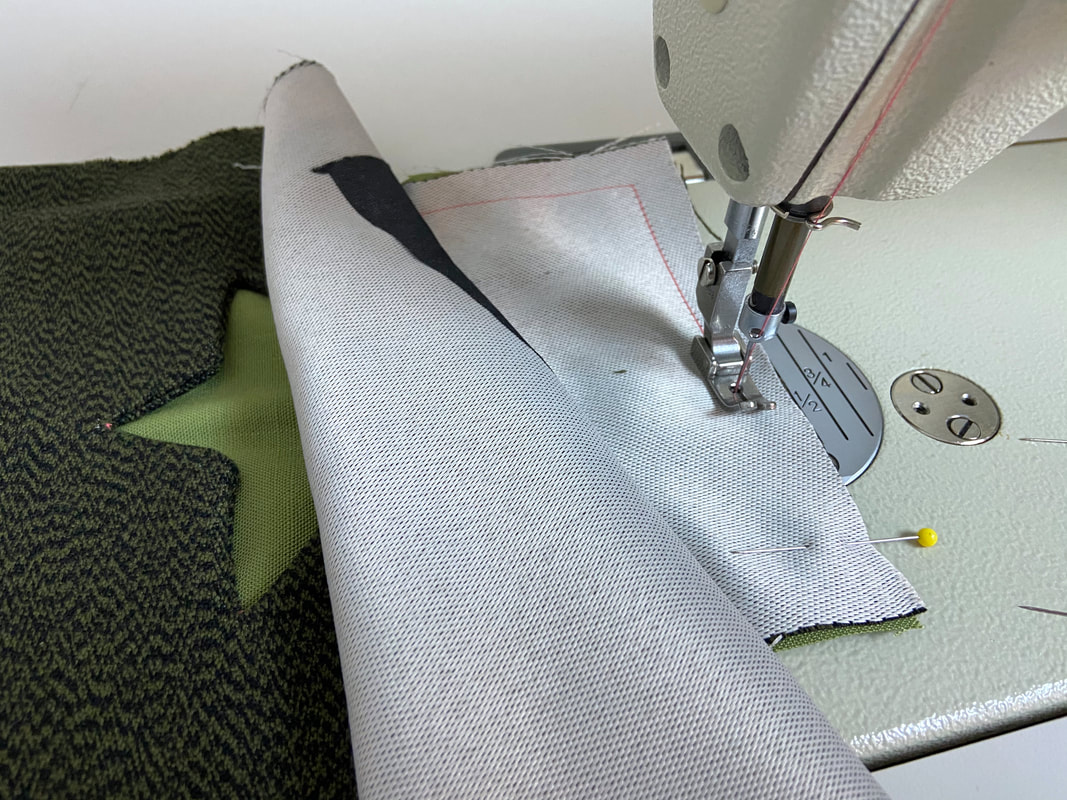
12. Machine stitch the pocket bag at 1/2" seam allowance along all edges.
To complete, clean-finish the raw edges using a zigzag or a serging stitch (if you have an overlock sewing machine).
To complete, clean-finish the raw edges using a zigzag or a serging stitch (if you have an overlock sewing machine).
Last but not least, give the finished pocket application one last press on its face side.
Note: Use a protective cloth if working with heat sensitive fabrics.
Note: Use a protective cloth if working with heat sensitive fabrics.

