
Mini Tutorial: Sewing A Curved Flap For A Slash Pocket Application
|
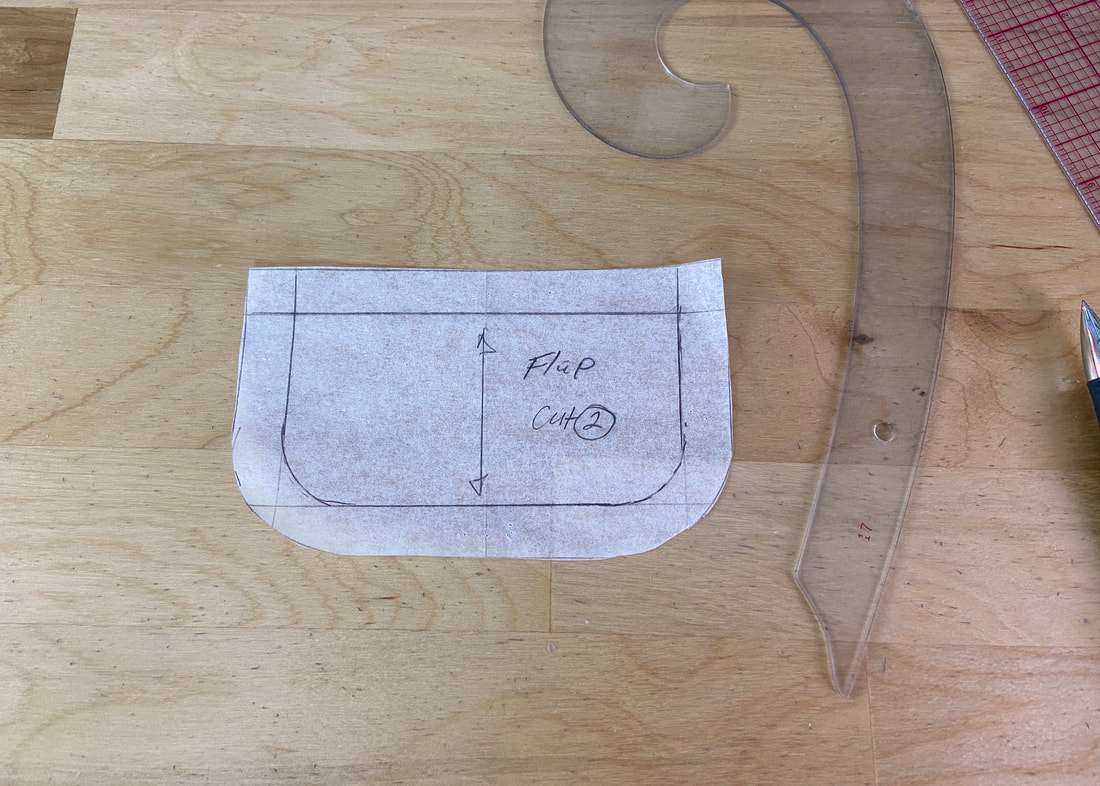
Don't have a pocket flap pattern? Not to worry! It is easy to draft one at home using the pocket opening measurements.
Start by drawing a rectangle that is as wide as the pocket opening and as long as the desired flap length. Curve the rectangle's bottom corners and add seam allowance to complete the flap pattern.
Using the resulting pattern, cut two identical pieces for the flap: one for the self flap layer and another for the flap lining. Using the same pattern, cut an identical piece of fusible interfacing and trim the seam allowance off along all its edges.
|
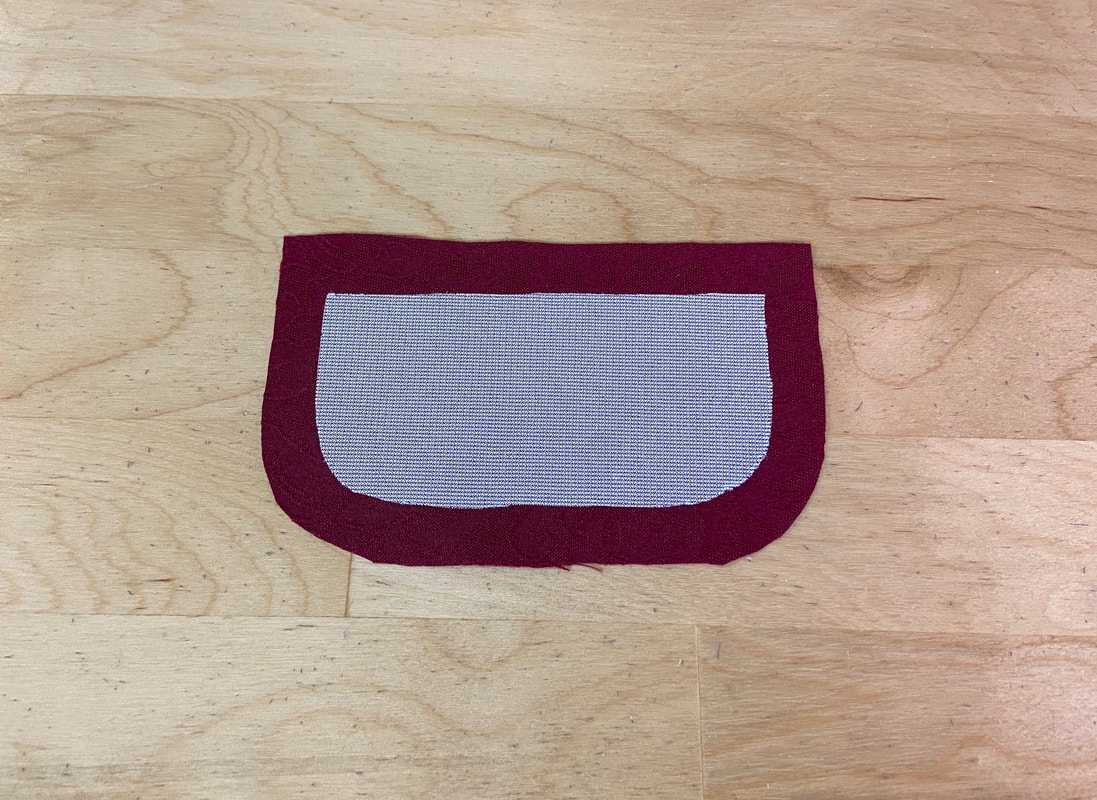
1. Fuse the interfacing to the wrong side of the self flap layer as pictured above.
|
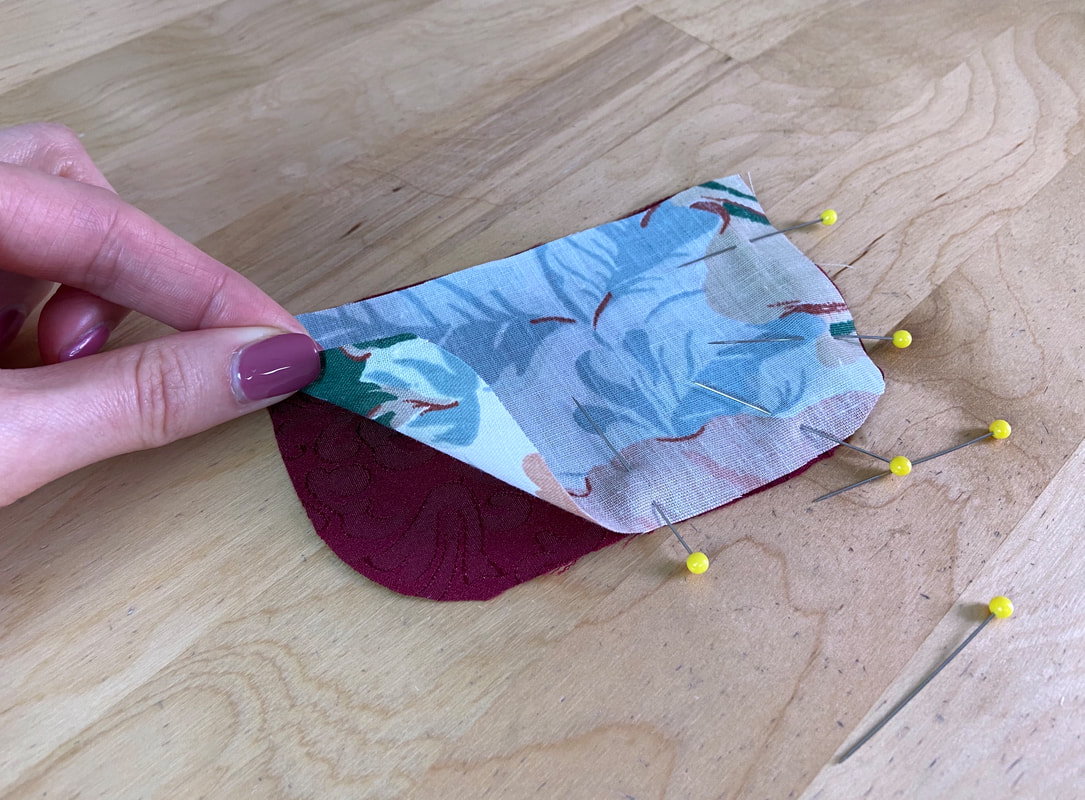
2. Place the matching lining layer on top of the interfaced self layer with face sides touching, and insert pins along the sides and curved bottom edge. Leave the top edges unpinned.
|
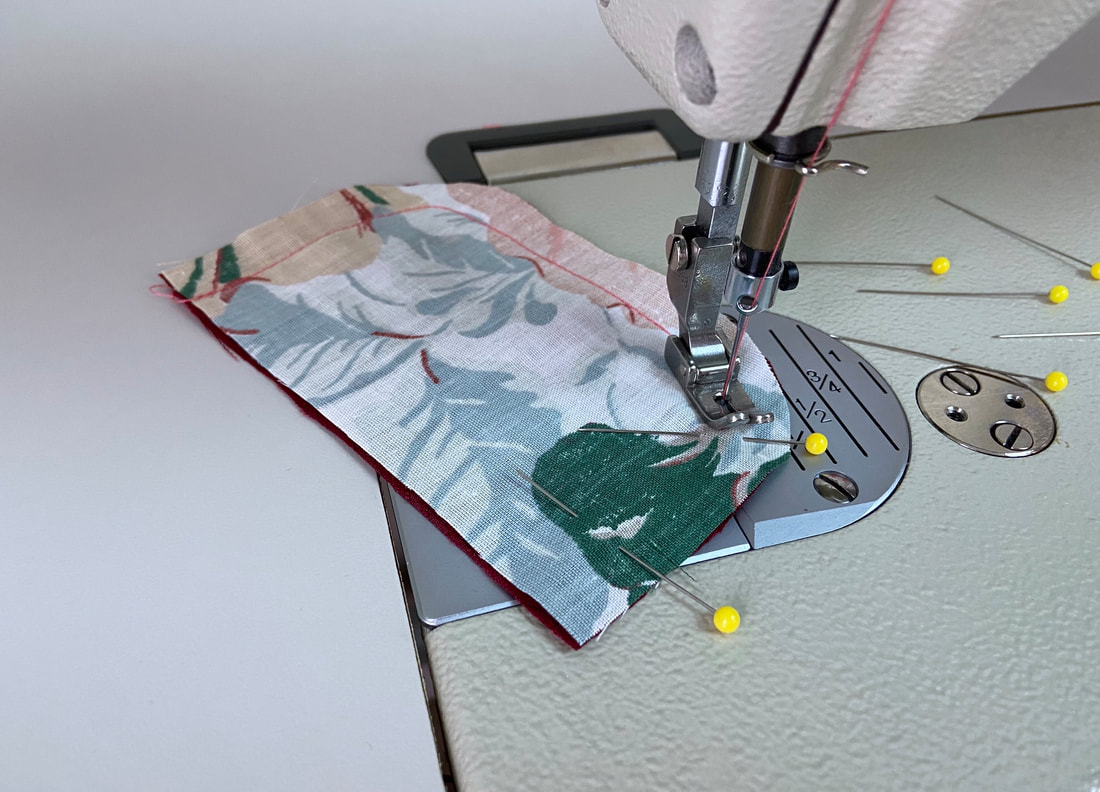
3. Starting from the top side corner, machine stitch the flap layers together along the sides and bottom following the designated seam allowance (1/2", in this case).
|
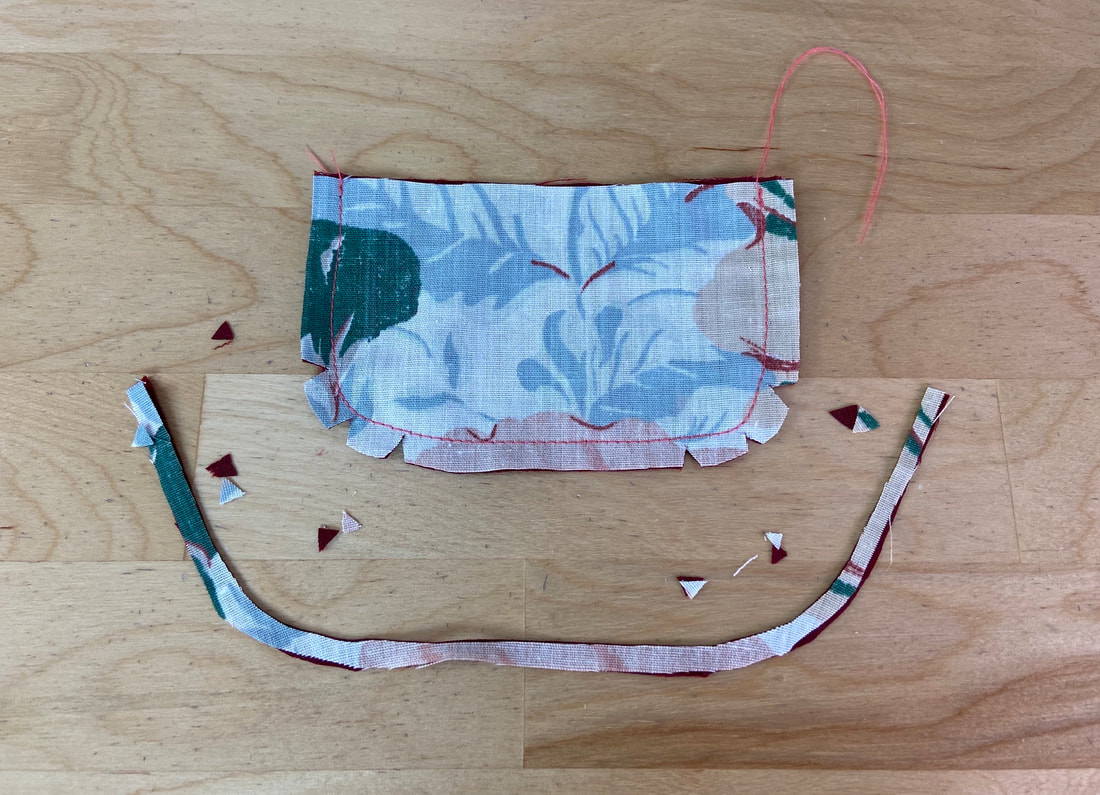
4. To eliminate excess bulk, trim the seam allowance down to about 1/4" and clip wedge notches along the flap's most curved areas. The notches will help the curved edge to lay smooth and flat, and eliminate extra tension within the finished edge.
|
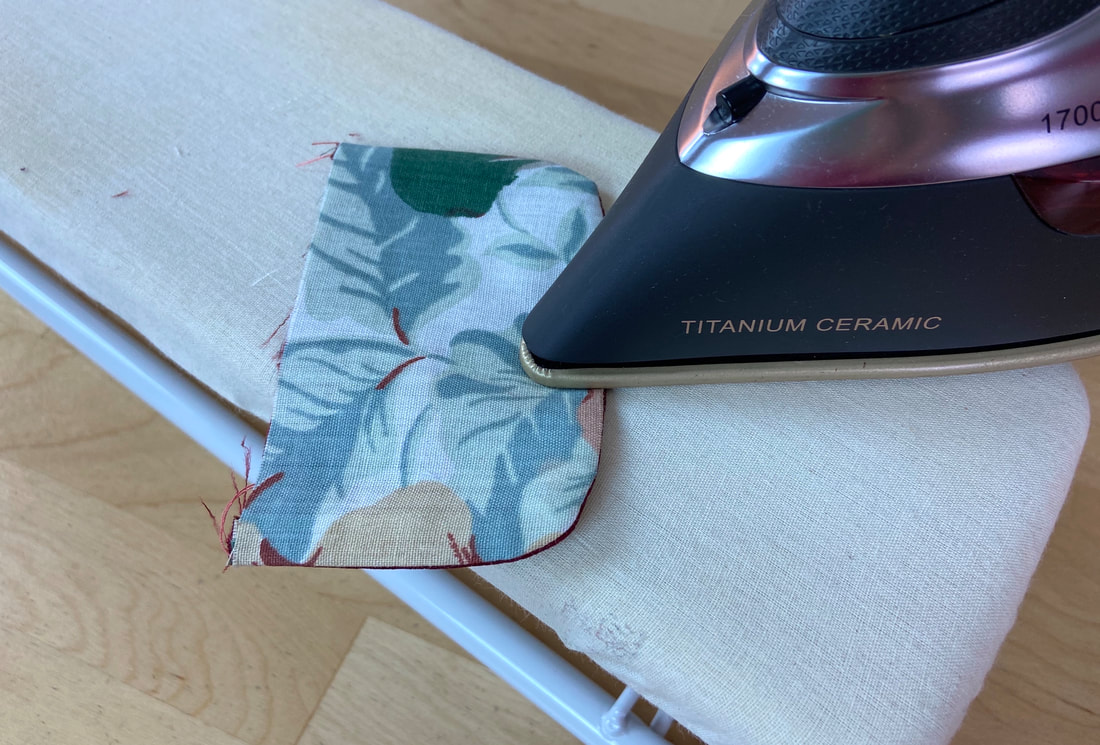
5. Turn the finished flap on its face side and iron the finished edges for a smooth, flat finish.
|
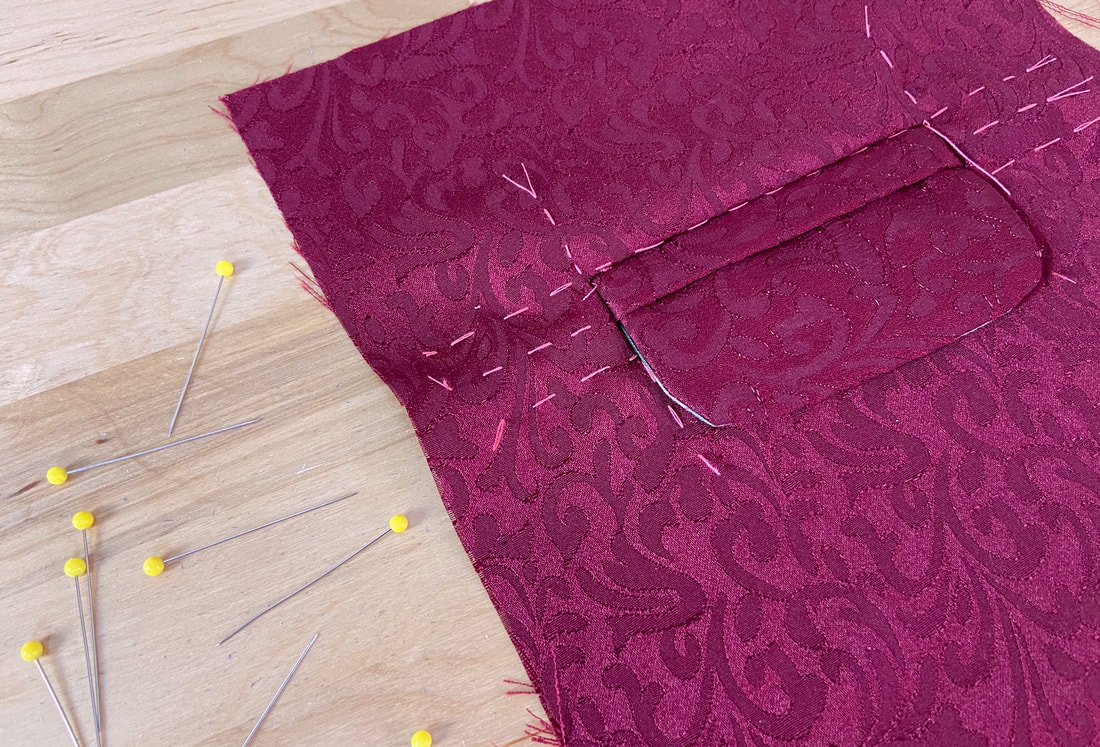
The completed flap should fit perfectly within the slash pocket opening. The lining should be fully enclosed at the flaps underside.
