
Mini Tutorial: How To Sew A Curved Patch Pocket With Extended Lining
A patch pocket with extended lining is a shortcut to the traditional separate lining application.
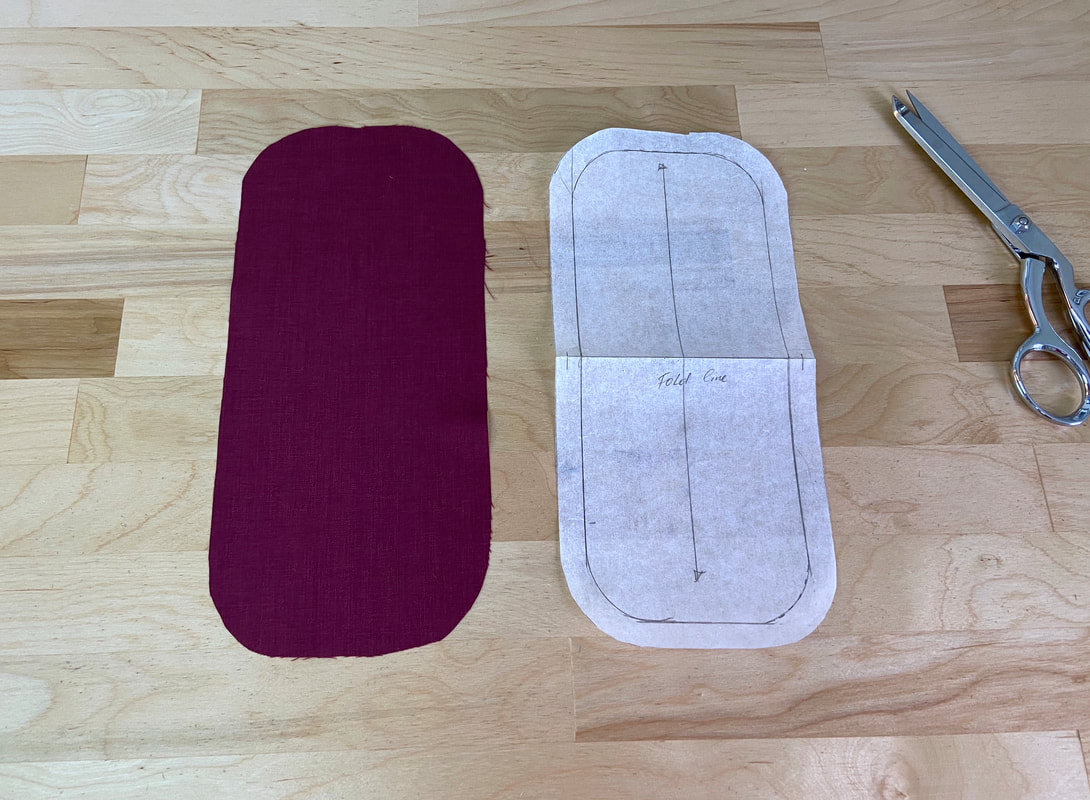
A conventional lined patch pocket is constructed of two separate pieces: one is the pocket self, the other is the lining layer. Conversely, a patch pocket constructed with extended lining has the lining layer built into the pocket piece.
As a result, the single layer is folded midway onto itself serving both as the lining and pocket self. The pocket opening edge corresponds to the fold line. Naturally, you should use this technique with fabrics that are not too thick or become overly bulky when folded.
|
1. Start by cutting your pocket piece. If you have a sewing pattern, cut just a single layer. If you do not have a pattern, you can simply measure and draw the pocket outline (include seam allowances) directly on the fabric and cut along the marked lines.
|
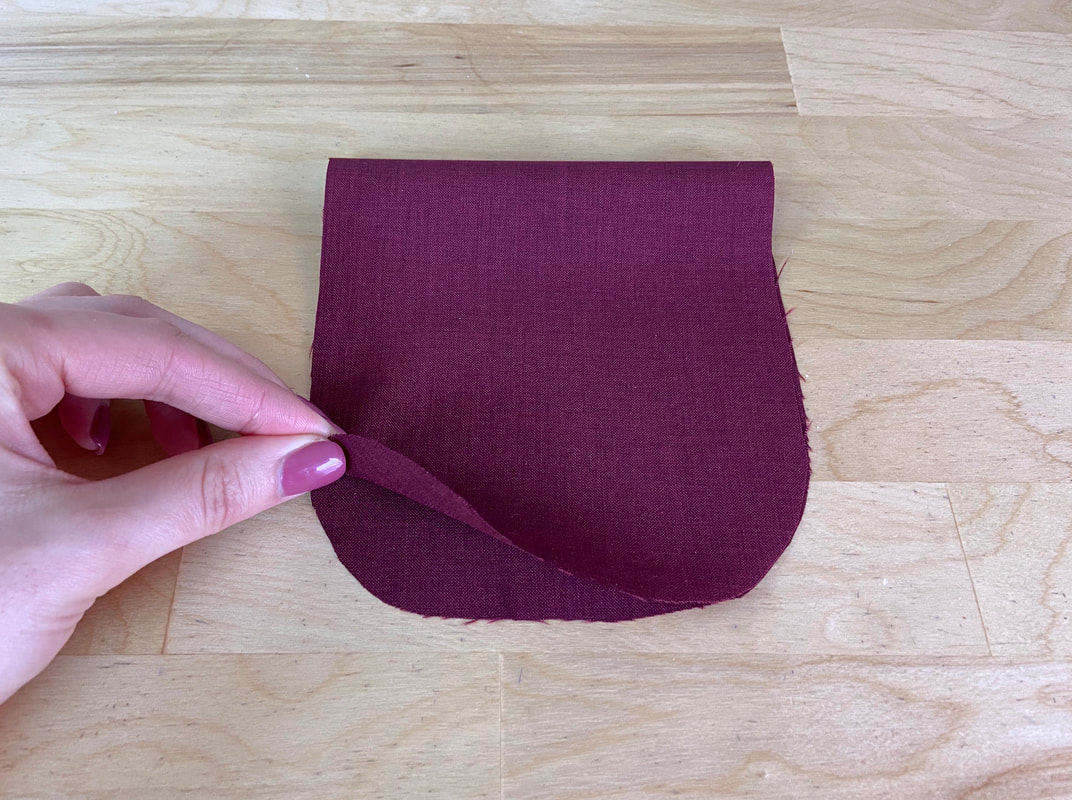
2. Fold the pocket piece in half with face sides touching and all bottom edges aligning.
|
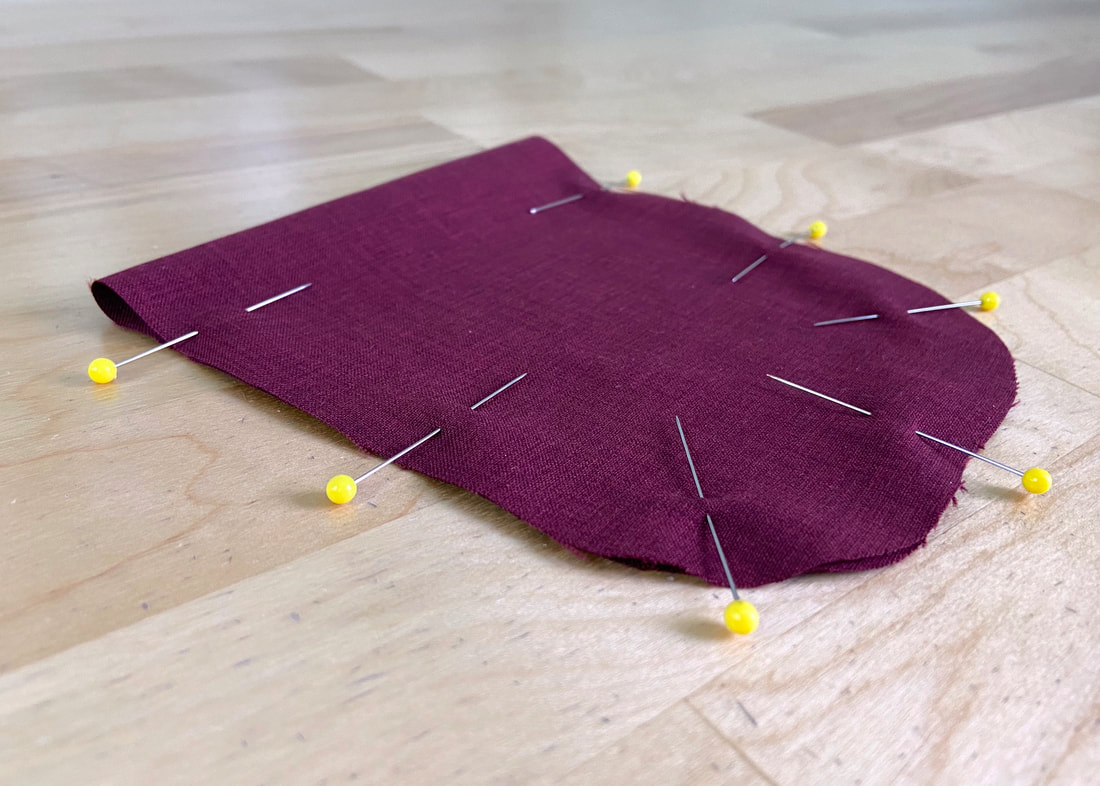
3. Insert pins perpendicular to the edges to keep them aligned in this position. This perpendicular pin placement is important as it will help you remove each pin much faster and safer during the machine stitching process below.
|
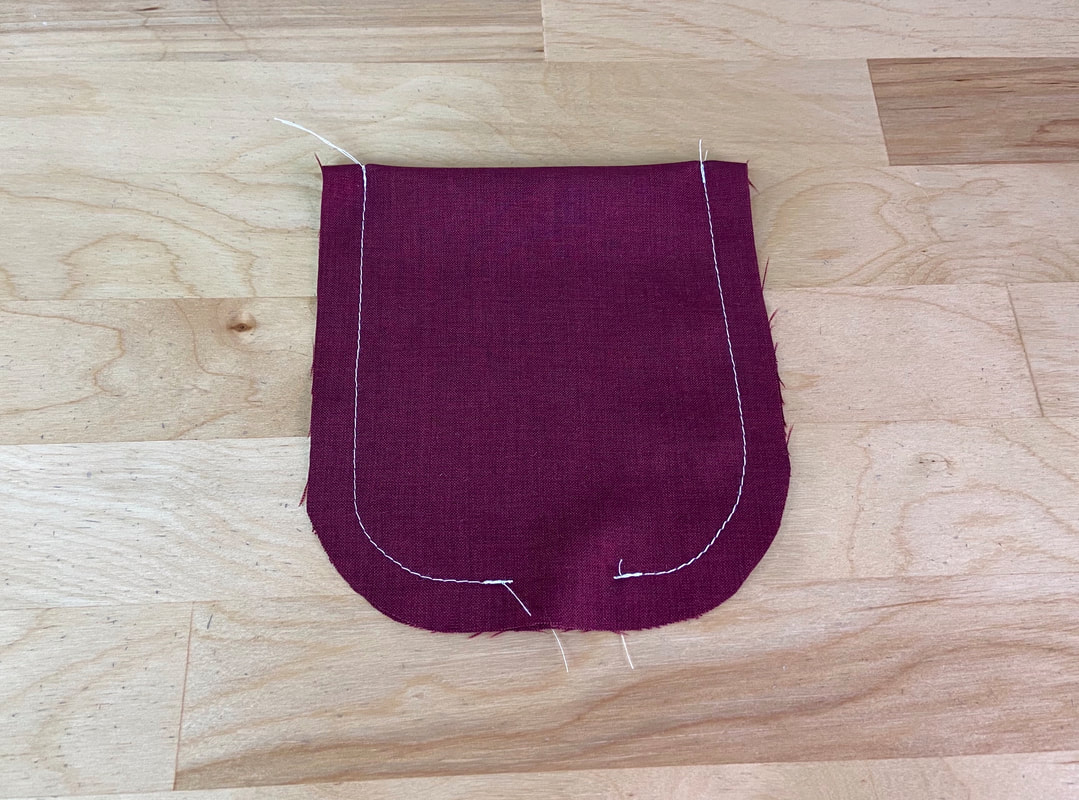
4. Starting from the bottom center, stitch along the fabric's raw edges until you arrive at the top folded edge. Next, stitch the other side of the pocket in the same manner, leaving about 1" to 1.5" of unstitched space at the bottom. You'll turn the lined pocket on its face side thorough this open gap.

|
5. To minimize bulk, trim the seam allowance down (if needed) to about 1/4"-3/8". Next, trim the top two corners diagonally as shown.
To minimize tension and encourage the finished curved edge to lay flat and smooth, clip wedge notches along the curved bottom seam allowance layers.
To minimize tension and encourage the finished curved edge to lay flat and smooth, clip wedge notches along the curved bottom seam allowance layers.
|
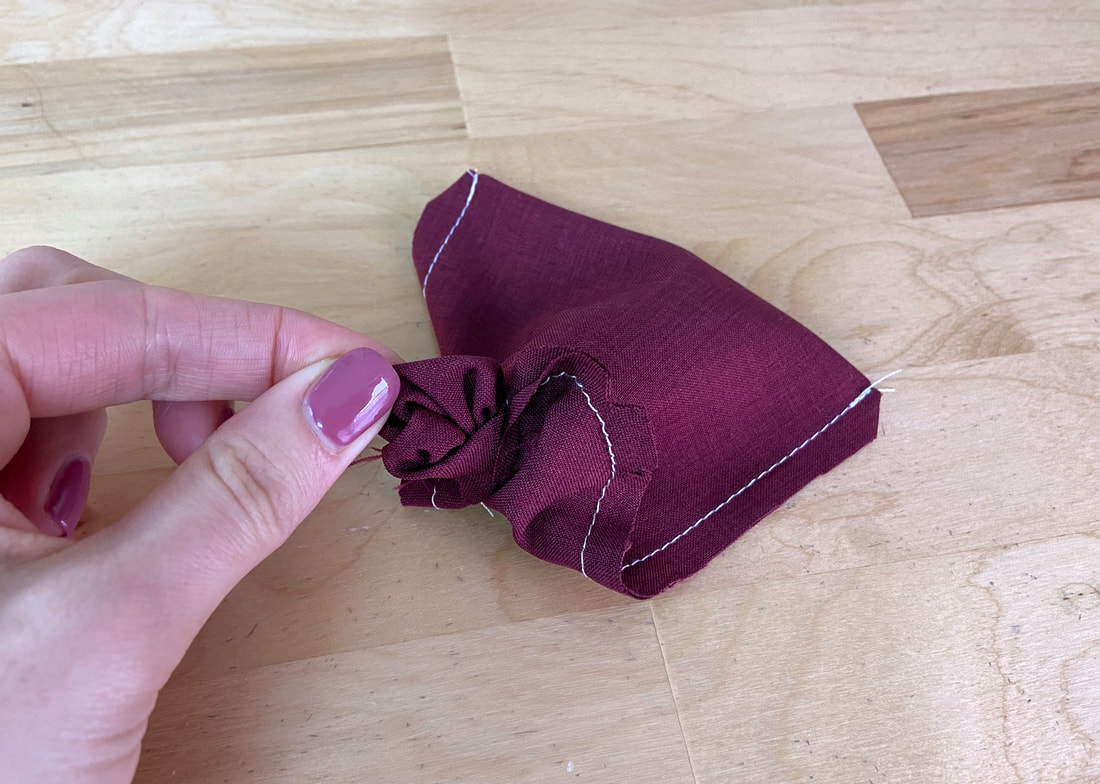
6. Turn the patch pocket on its right side through the 1" opening gap.

|
7. Bring the edges out and iron them flat.
|
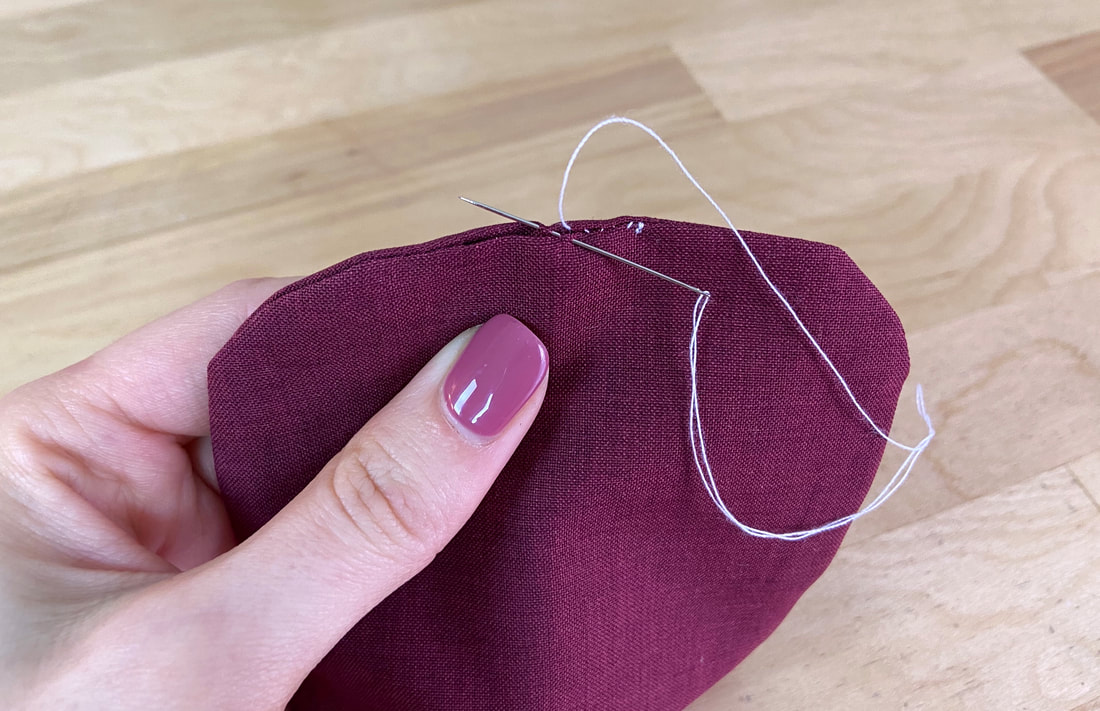
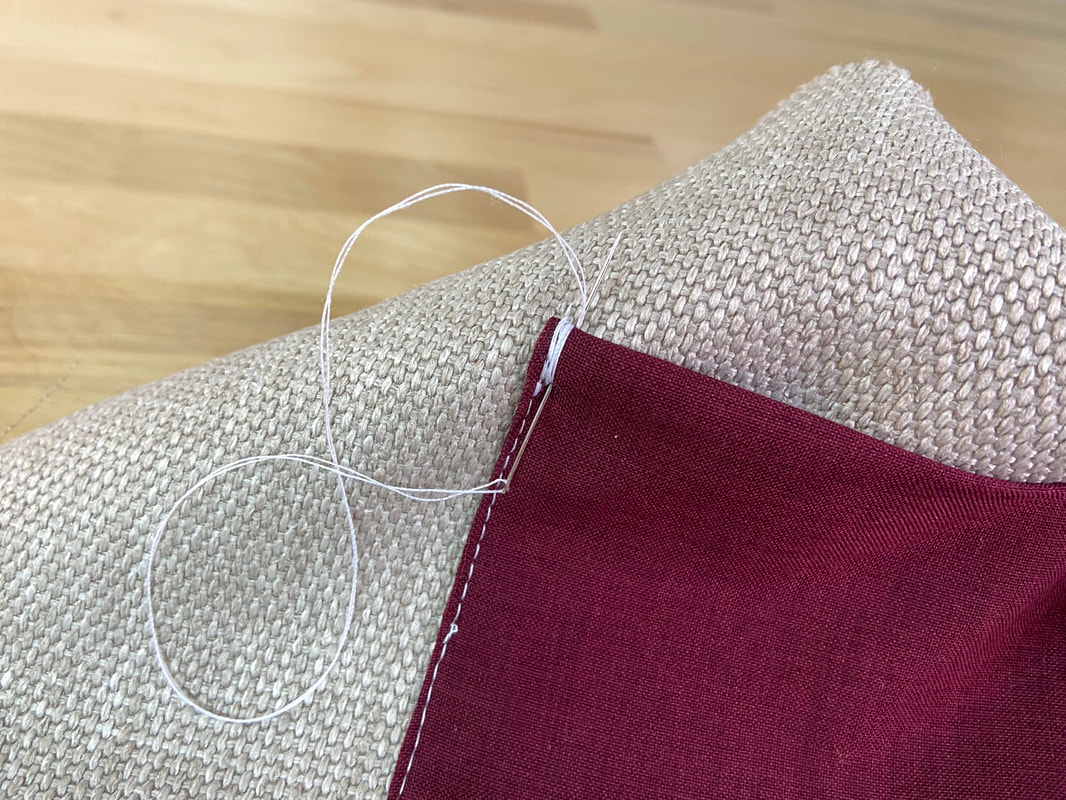
8. Using a slipstitch, seal the bottom gap, alternating the stitches from fold to fold. As a result, you should have an invisible stitch application that disappears within the clean-finished edge.
|
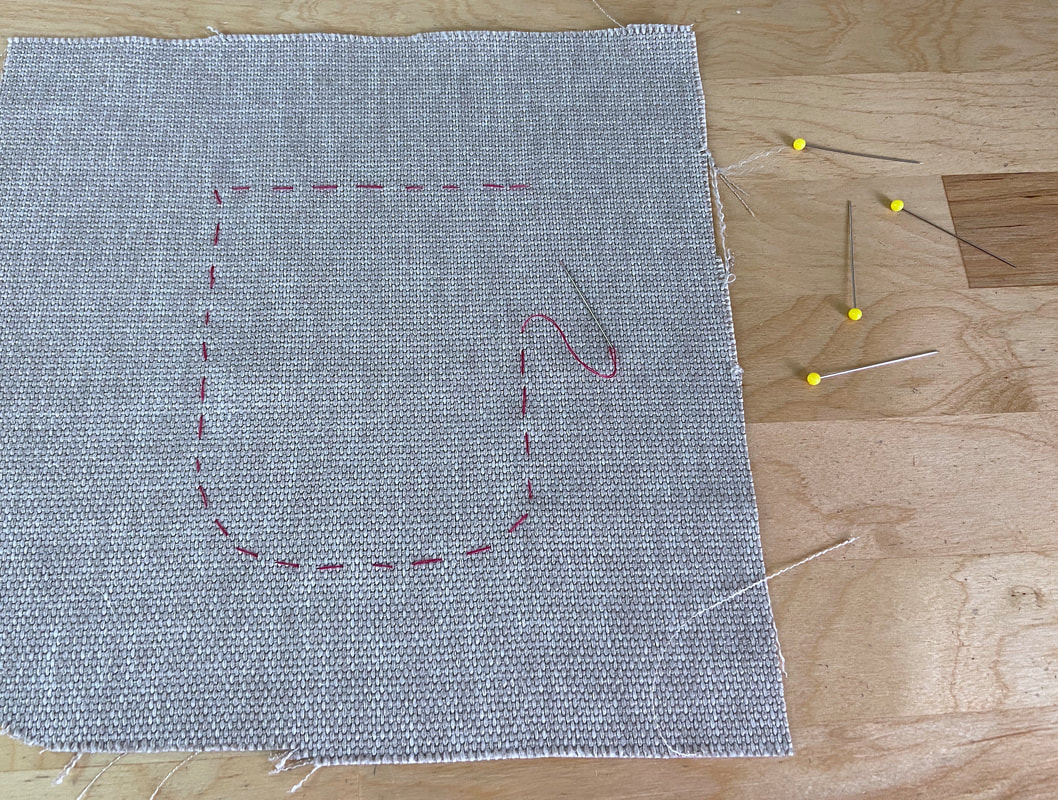
9. Mark the patch pocket's outline directly on the face of the garment layer at the desired pocket location. In this tutorial, a hand basting stitch is used to mark these lines. Alternatively, you can use tailor's chalk or a quilting pencil as long as it is safe and easy to remove once the patch pocket is permanently attached.
|
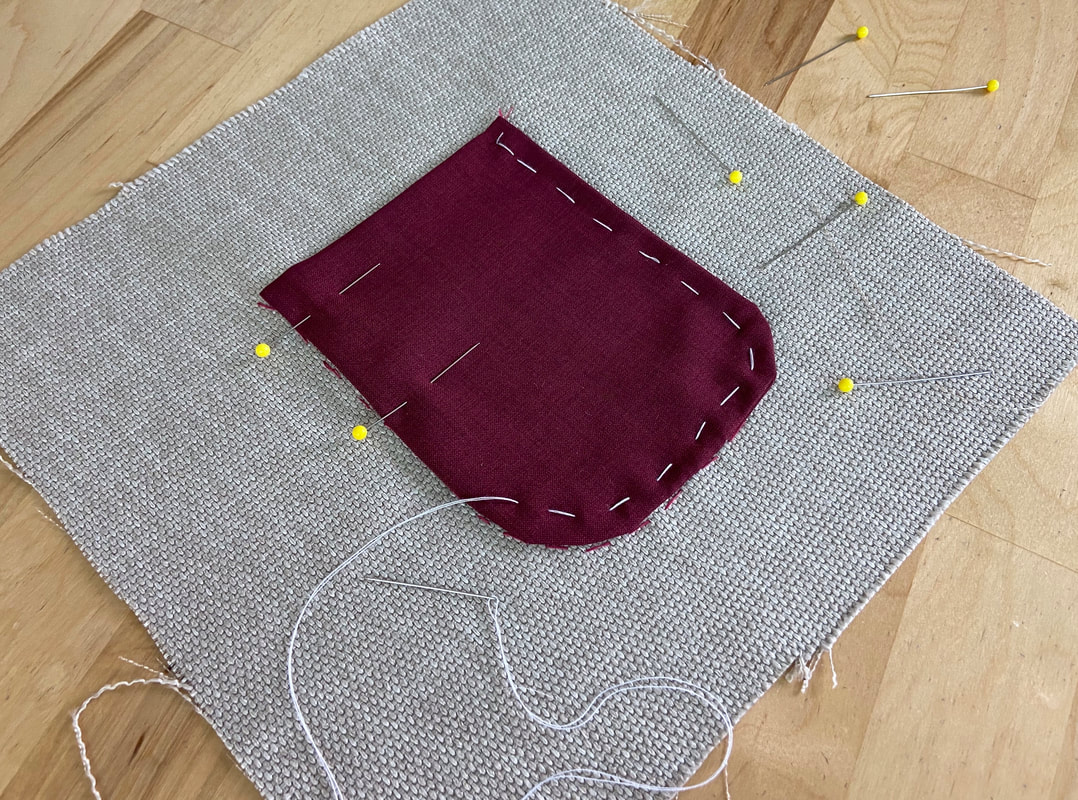
10. Align the lined patch pocket within the marked lines and pin it perpendicularly in place. In lieu of pins, you can use a hand basting stitch to ensure the pocket layers do not shift out of alignment in the topstitching process.
|
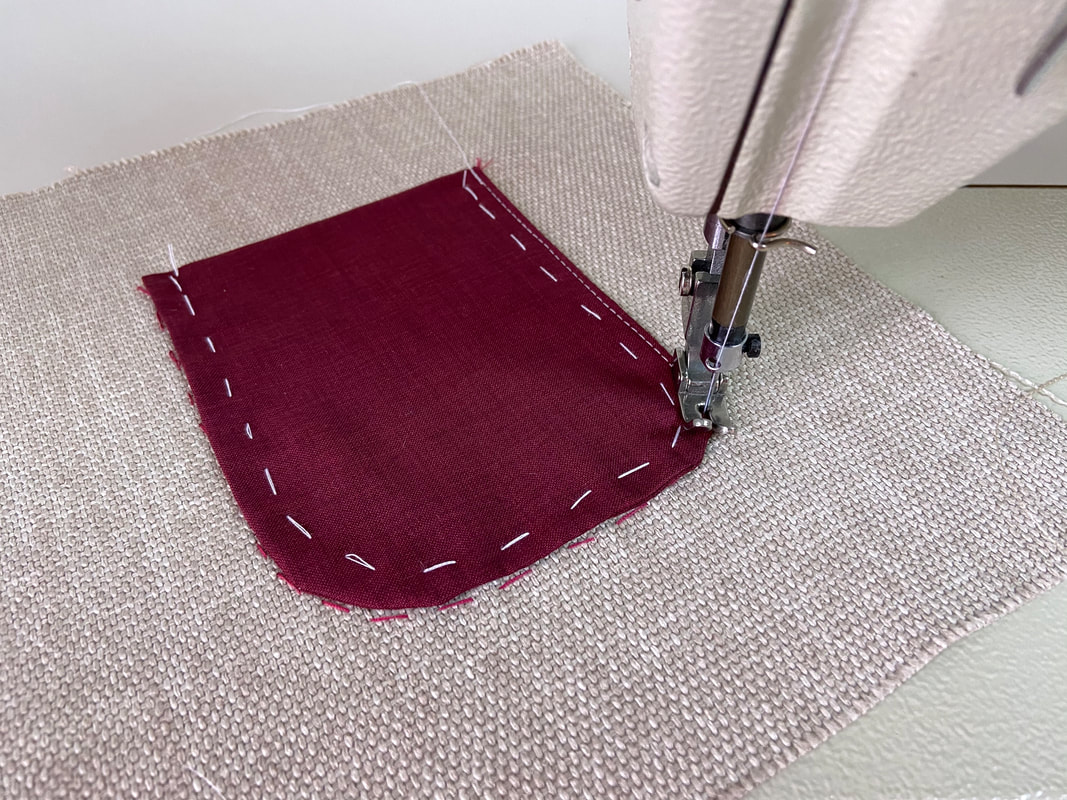
11. Starting at one of the top corners, topstitch along the pocket's edge until you arrive at the other opening corner. Backstitch at both beginning and end of the stitch to ensure a durable connection at the pocket opening.
|
13. Since the pocket opening sustains most of the pressure and weight during use, it is important to further reinforce each corner with a tack or some form of whipstitching as shown above. Stitch through both the pocket and garment layer underneath until the stitch is full and secure enough to stabilize the patch pocket application.

|
The finished pocket should be topstitched evenly along all edges and both of its top opening corners should be reinforced for extra strength and durability.
