
Sewing Tip: Hiding Lining Underneath A Lined Patch Pocket
The components of a fully lined patch pocket are cut from the same pattern and thus are identical in shape and size.

|
A patch pocket is constructed from the pocket self and an identical lining layer. The lining's face side is the mirror reflection of the self's face.
Given that these two layers are identical, when they are stitched together to from the finished patch pocket, the lining will come all the way to the finished edges and will be somewhat visible along the pocket lines. To ensure that the lining layer remains fully hidden on the pocket's wrong side, here is what you can do:
Given that these two layers are identical, when they are stitched together to from the finished patch pocket, the lining will come all the way to the finished edges and will be somewhat visible along the pocket lines. To ensure that the lining layer remains fully hidden on the pocket's wrong side, here is what you can do:
|
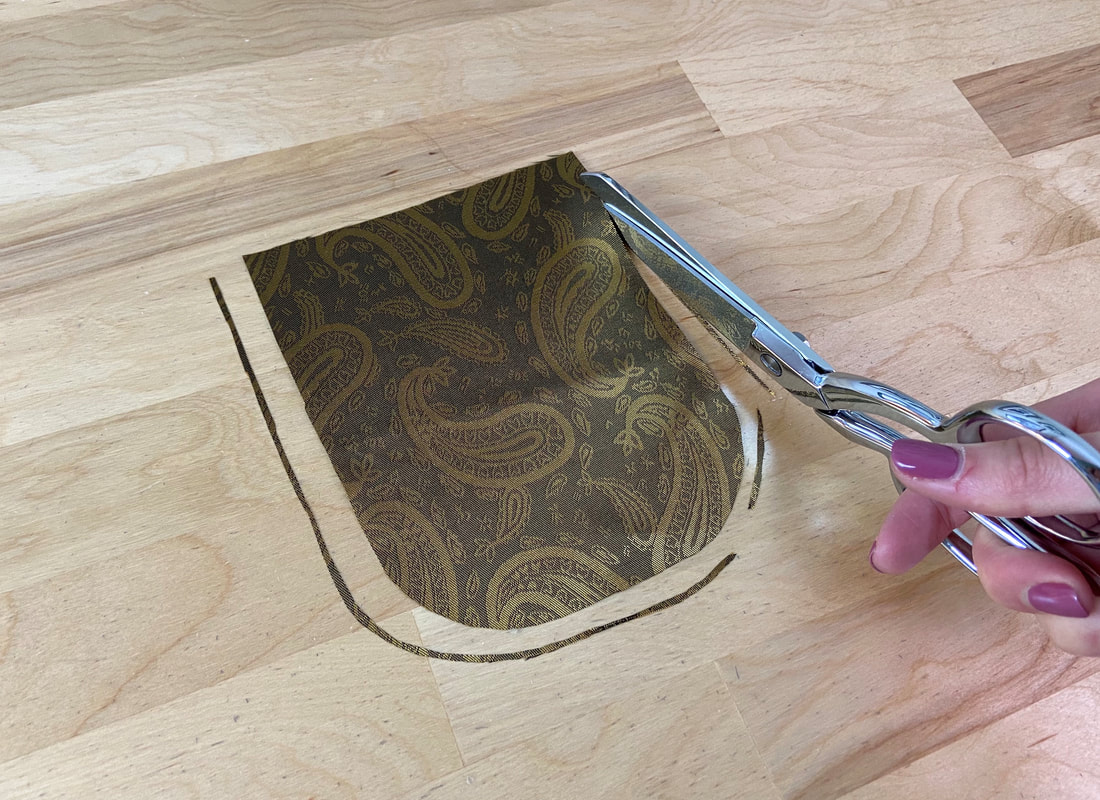
Before aligning and stitching the lining to the pocket self, trim about 1/16" along all the lining edges. Doing so will slightly minimize the lining size but no so much that it makes it difficult to align and stitch to the pocket self.
|
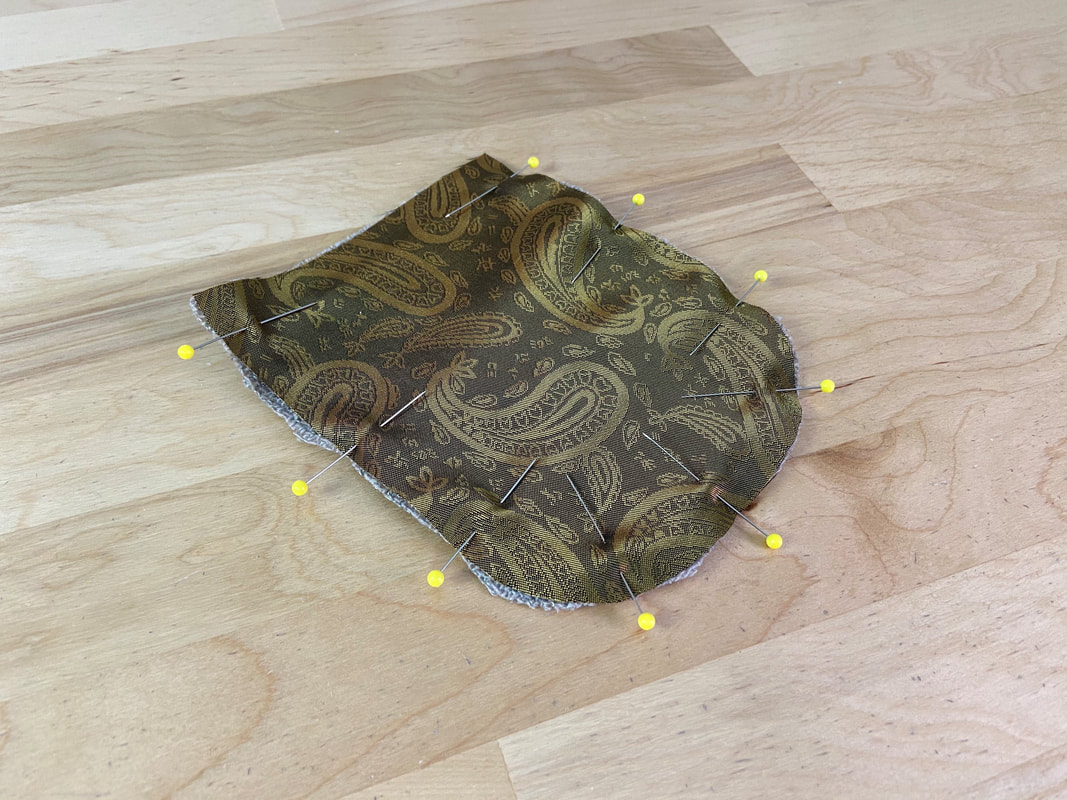
When aligning and pinning the lining to the pocket self layer, you'll have to work a little harder to keep the edges matched. Work on each edge at a time and don't worry too much about the tension created within the pocket's self layer- do the best you can and focus on the edges only.
|
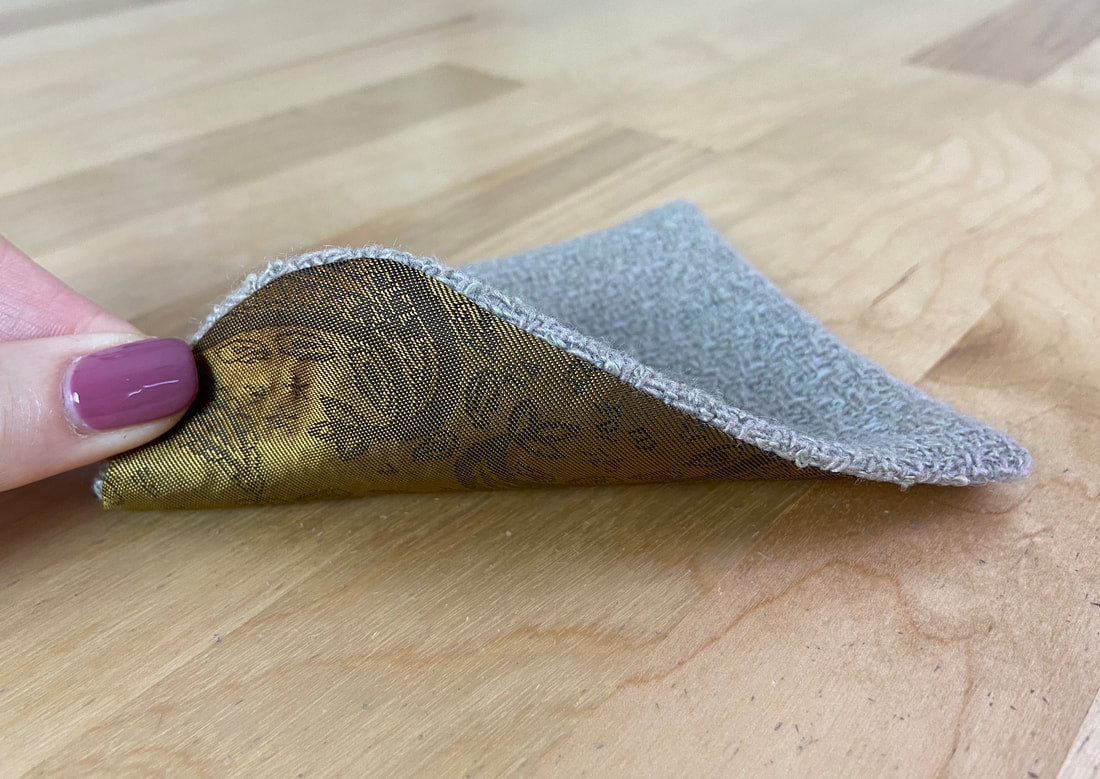
When the patch pocket is complete, the lining will pull the self layers slightly inward, toward the pocket's wrong side, which will prevent the lining layer from protruding along the pocket's finished edges.
|
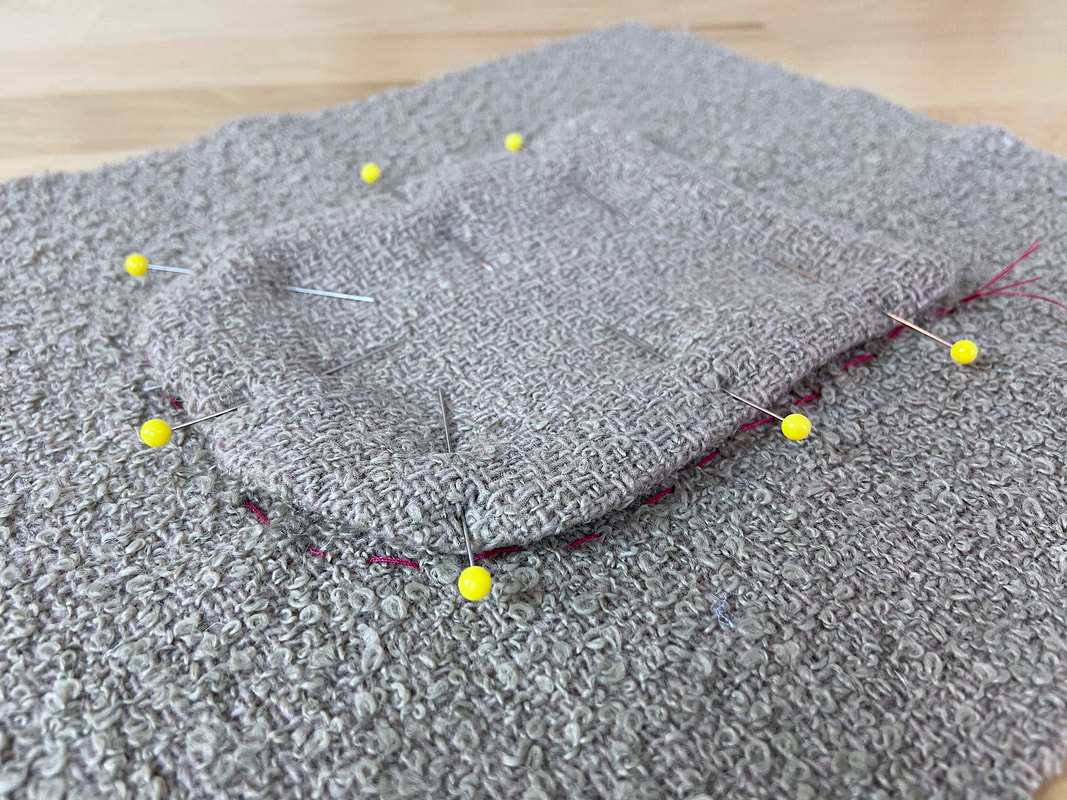
In the patch pocket's final application, the lining will be completely enclosed on the wrong side of the pocket bag thus resulting in a professional, clean application.
