How To Fold A Curved Patch Pocket Edge Using Easestitching
If you've ever sewn a curved-bottom patch pocket, you know that folding the bottom curved edge can be quite challenging.
Luckily, there is a simple trick you can use to not only ensure an evenly folded edge, but an easy-to-fold process. This technique is called easestitching and it is as easy as applying a simple stitch.
Here is how to do it:
Luckily, there is a simple trick you can use to not only ensure an evenly folded edge, but an easy-to-fold process. This technique is called easestitching and it is as easy as applying a simple stitch.
Here is how to do it:
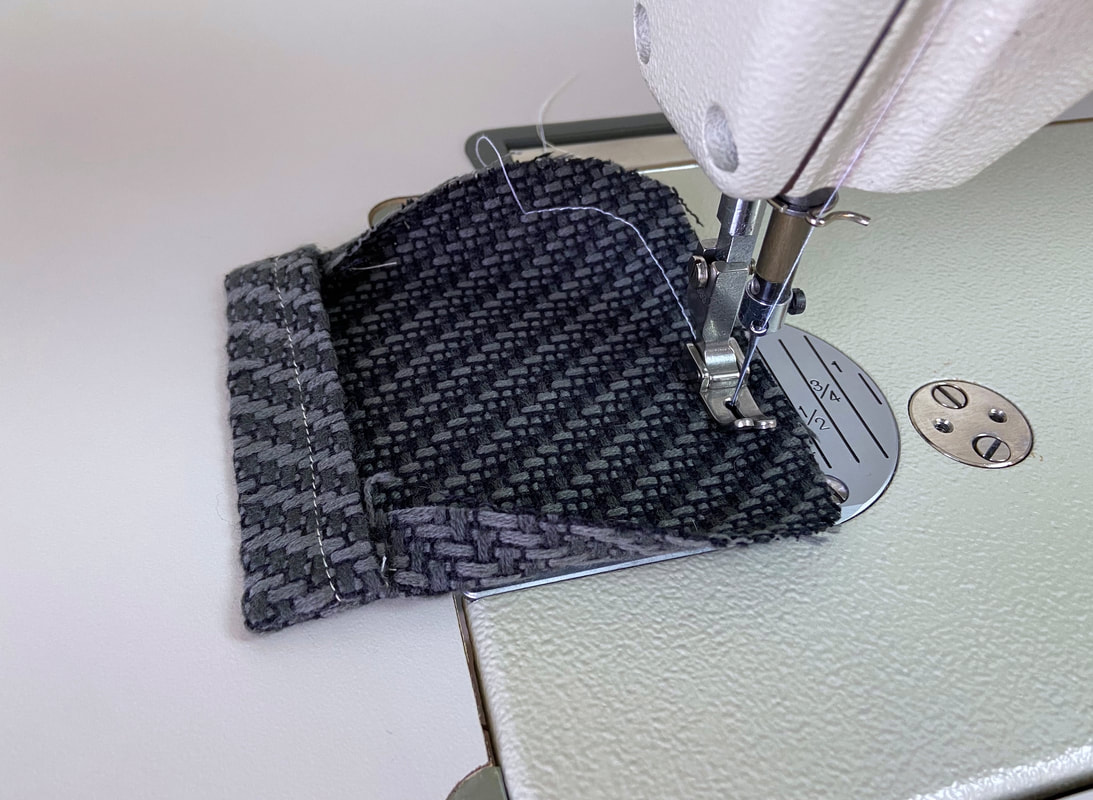
1. Switch your machine setting to a basting stitch (longer stitch available on your machine) and stitch the patch pocket layer along its curved edge. Stitch next to the seamline (or desired finished folded edge) but stay within the seam allowance. Leave enough loose threads on each end so you can comfortably grab and pull it in the steps to follow. This application is called easestitching and will serve only in the construction process to facilitate folding the curved edge inward. It will not be visible or serve a functional purpose in the finished patch pocket application.
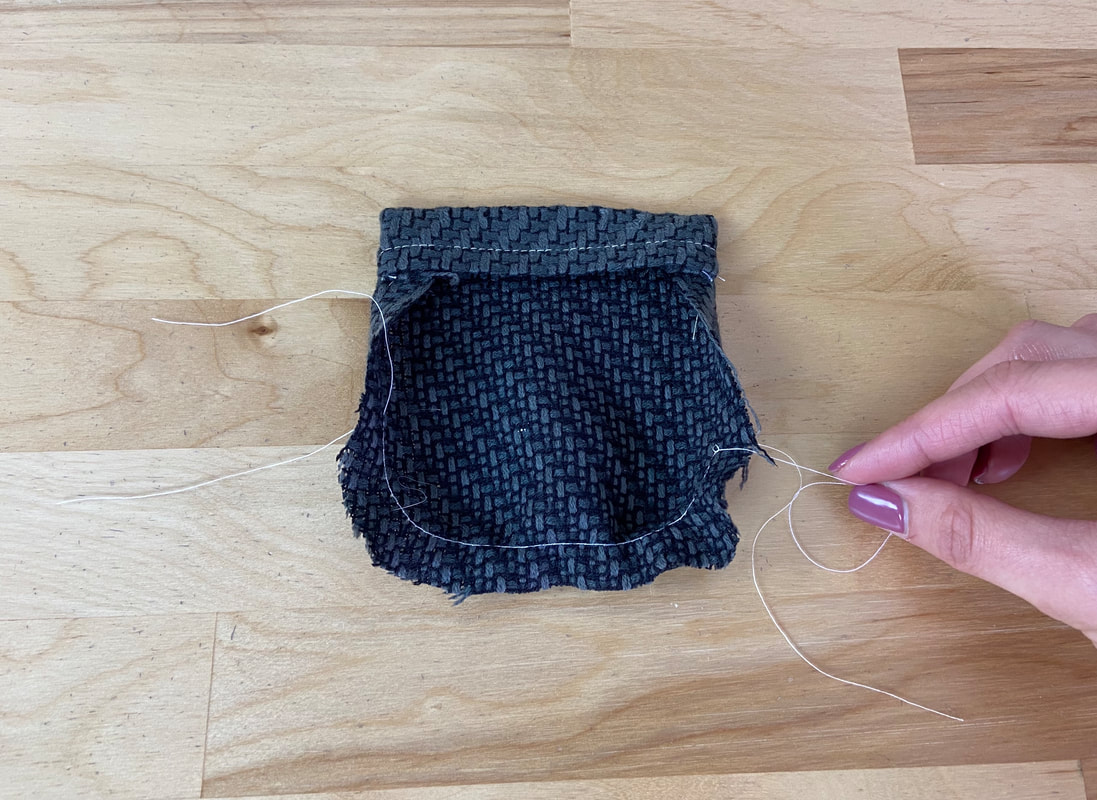
2. Gently pull one of the loose threads at the end of the stitch to direct the curved edge inward. You'll find that as you pull to create some tension, the stitch begins to form a guideline for the finished folded edge. This guideline provides control in directing the curved seam allowance edge.
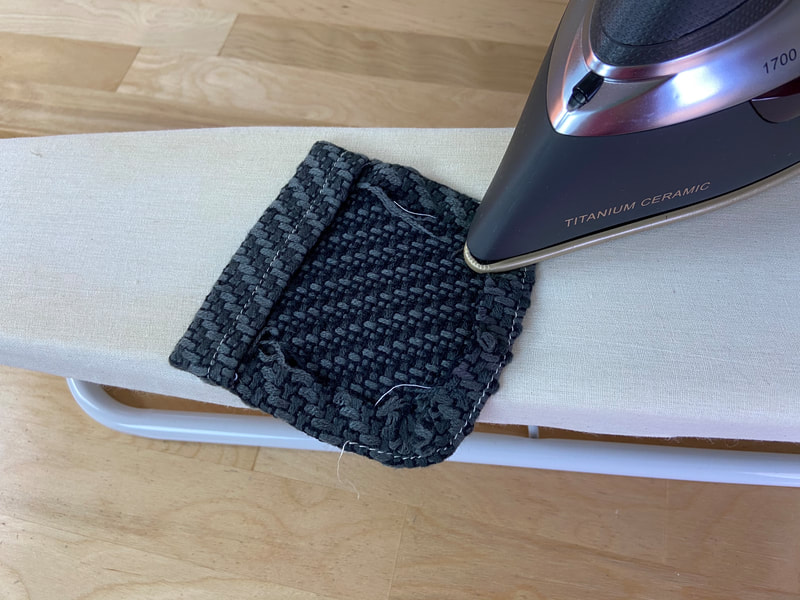
3. Fold the curved edge inward, toward the pocket's wrong side. Once the pocket is complete, the stitch should not be visible on the application's face side. Iron the curved edge to crease and secure it in this position.
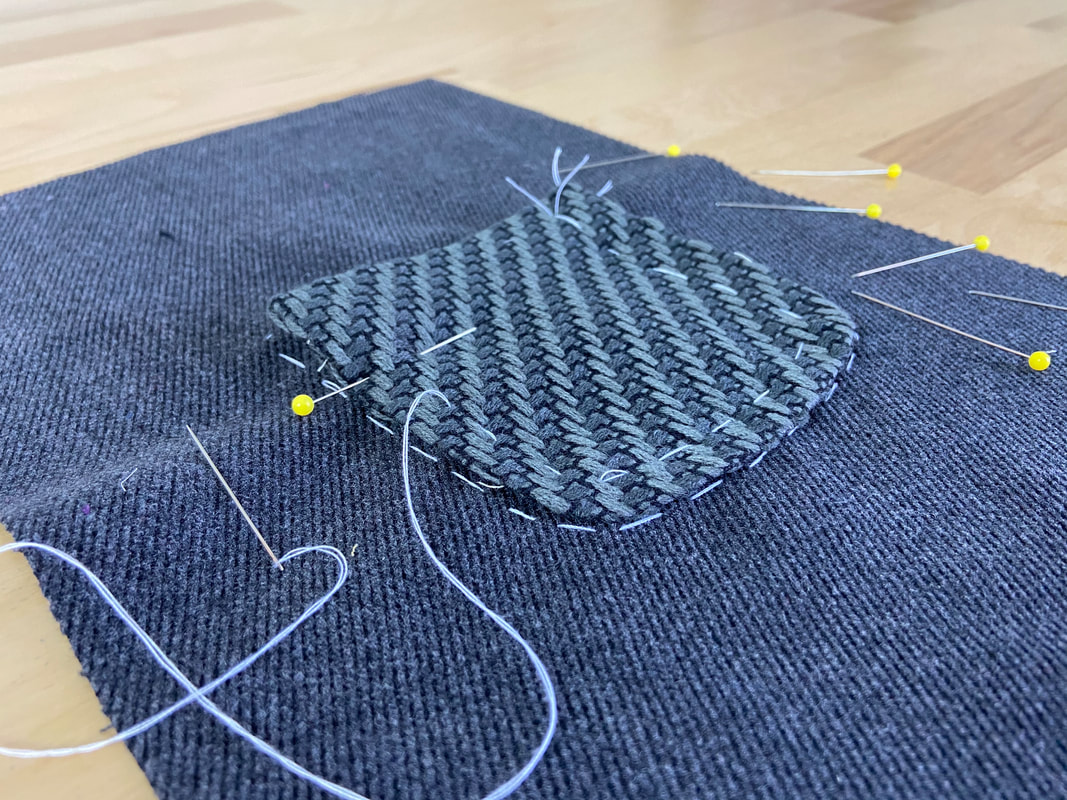
Easestitching creates a smooth folded edge which, aside from resulting in a high quality pocket application, allows for more comfort in the pocket's alignment and topstitching process.


