Mini Tutorial: How To Finish Lining At The Hem By Hand
As a sewing beginner, you may find it easier to seal lining at the hem by hand. A hand application, while more time consuming, provides more clarity on the correct alignment process.
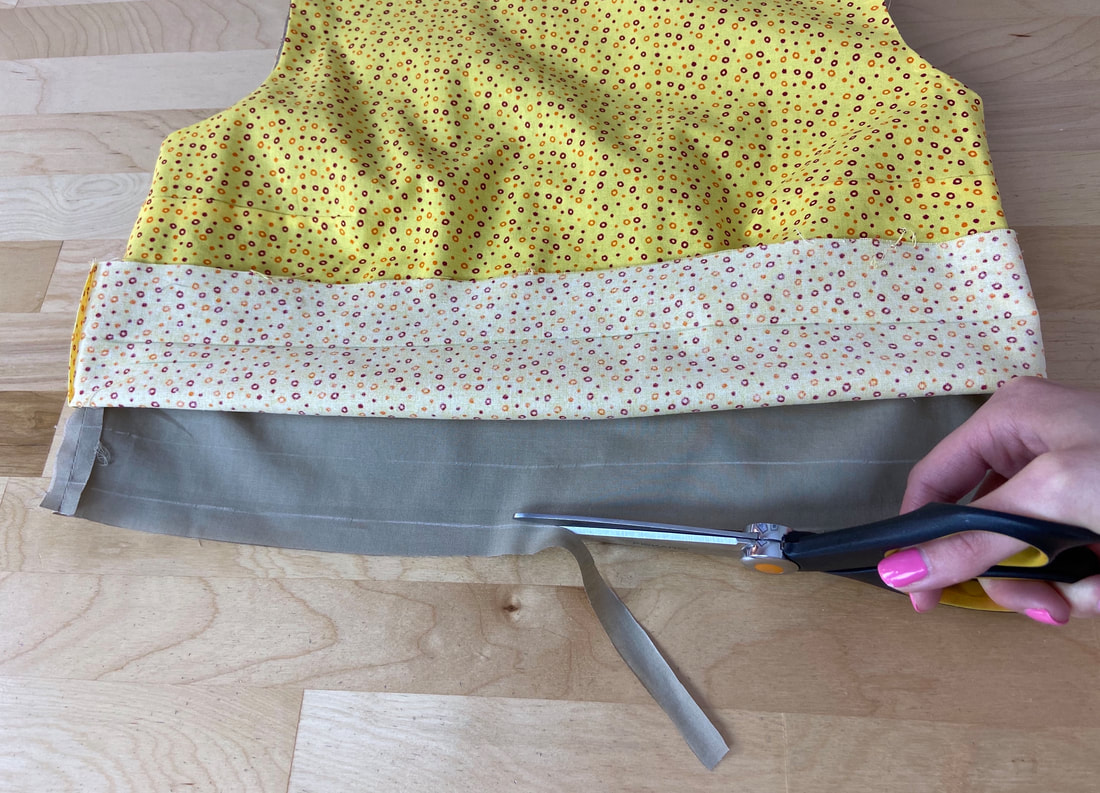
1. If your lining layer is as long as the garment layer (same patterns were used to cut the two), trim the lining hem allowance down to 1" width. Measure and mark the new line with tailor's chalk or fabric pencil, and cut along this new marked line.
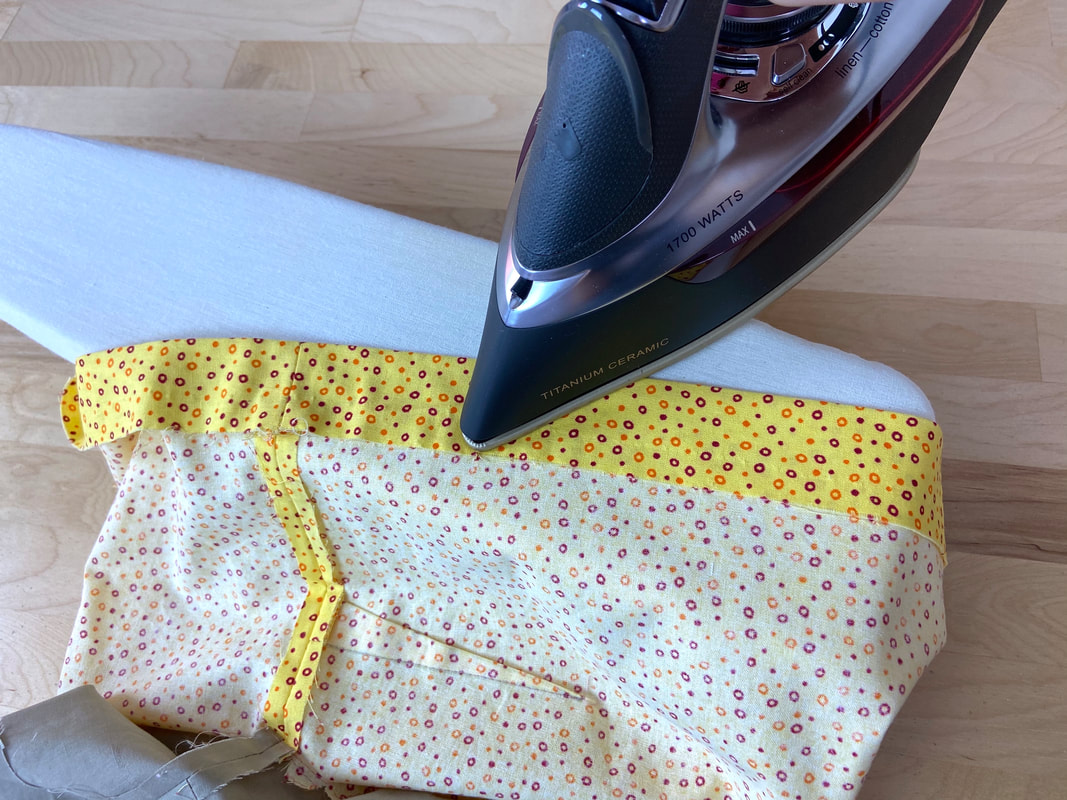
2. Start by folding and ironing the garment's hem allowance. In this case, the hem allowance is 1.5” wide.
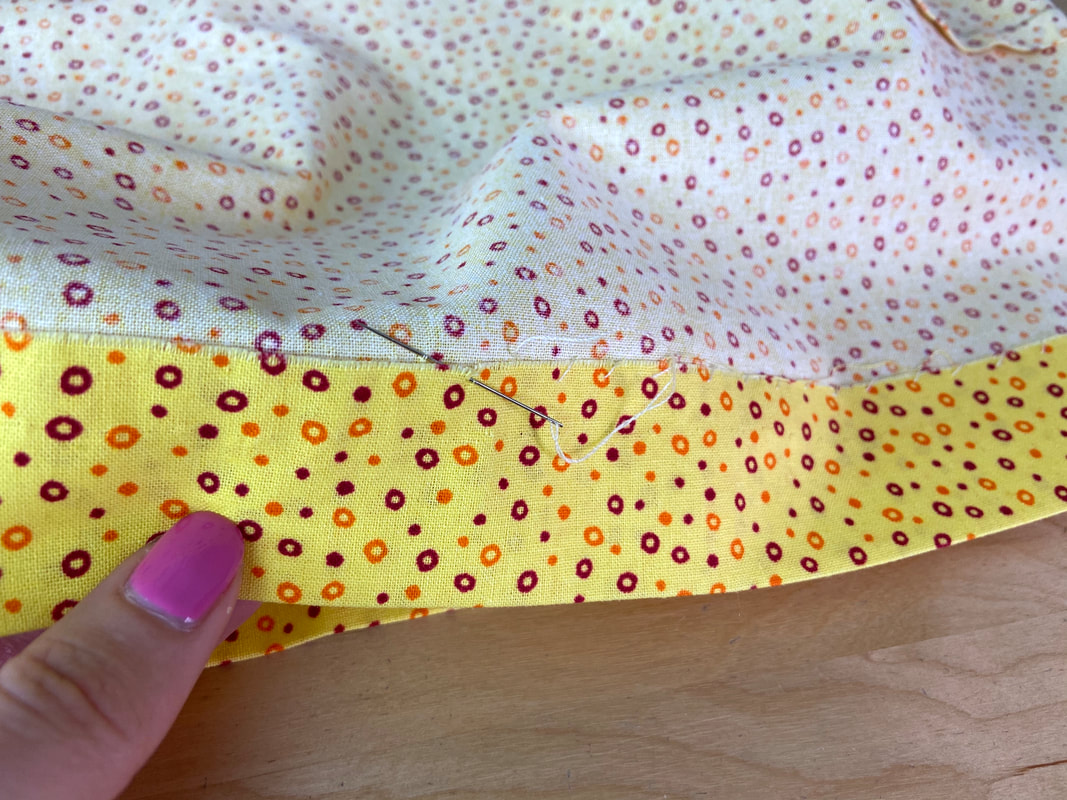
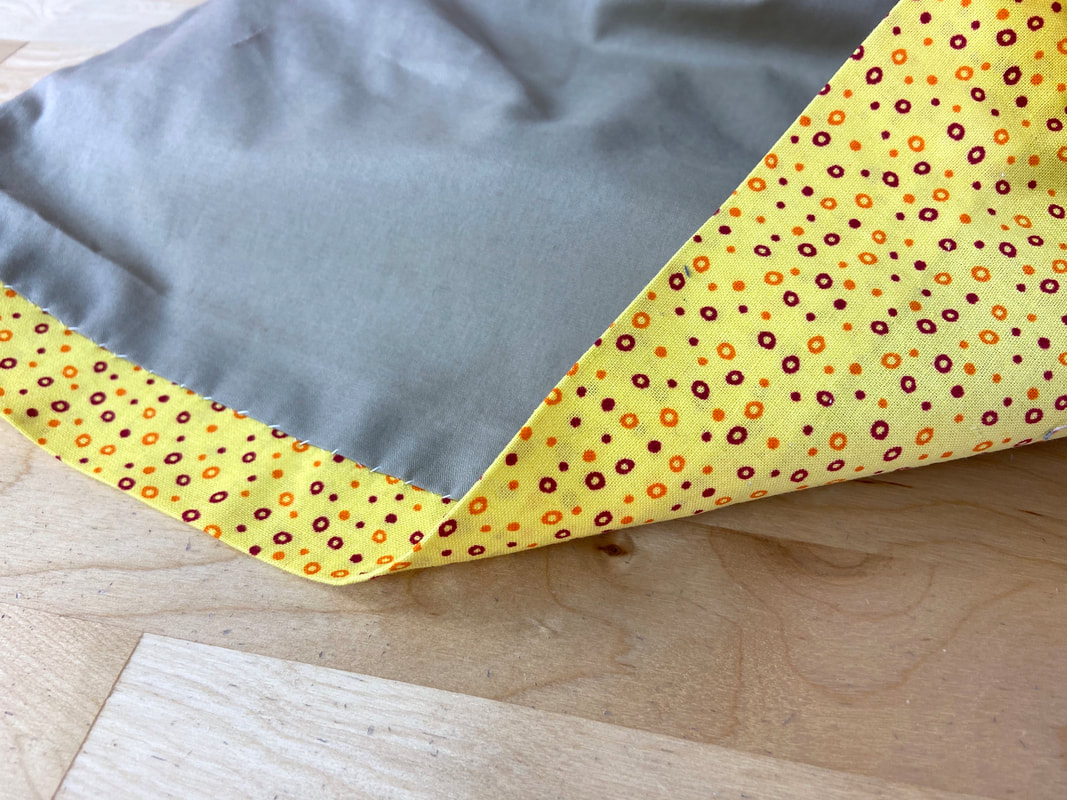
3. Blindstitch the hem allowance edge to the garment layer underneath using a slipstitch or hemming stitch.
4. Next, fold the lining hem allowance by 1/2” toward the wrong side of the garment and iron the fold to crease. This process will save time and facilitate the final alignment and hand stitching process to follow.
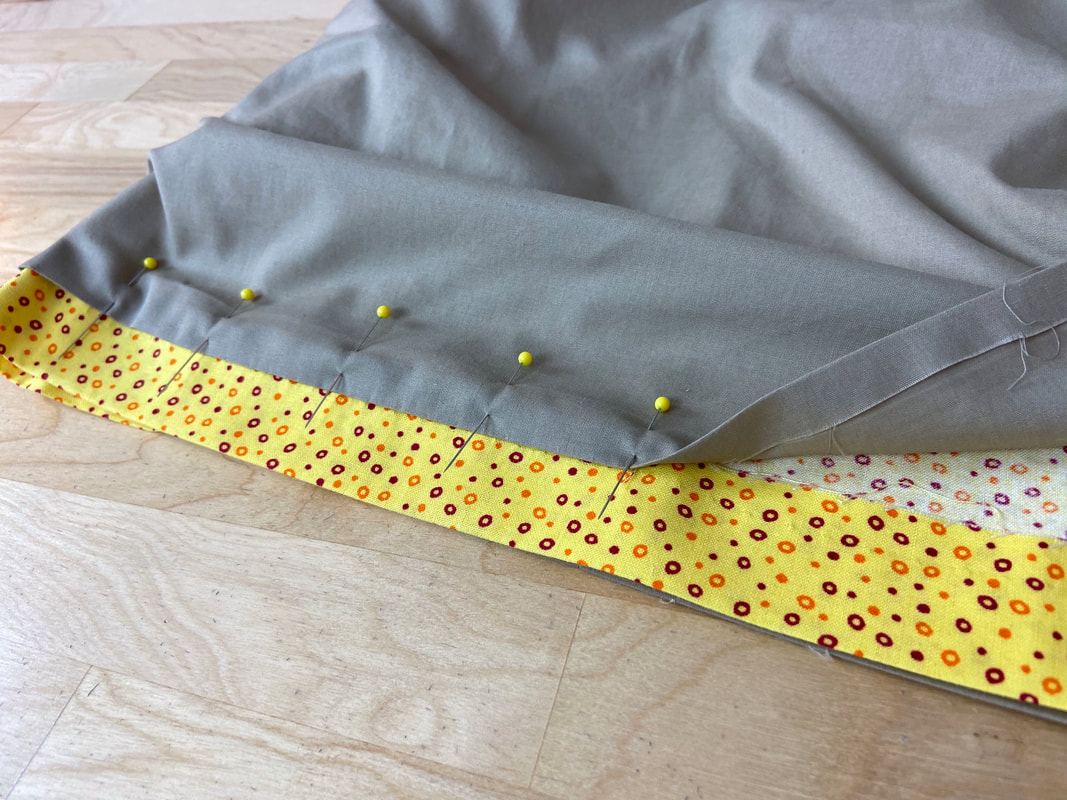
5. With the garment on its wrong side, align the lining's raw edge to that on the garment and insert pins perpendicularly to secure the layers in this position. All raw edges should be encased between the lining and garment layer.
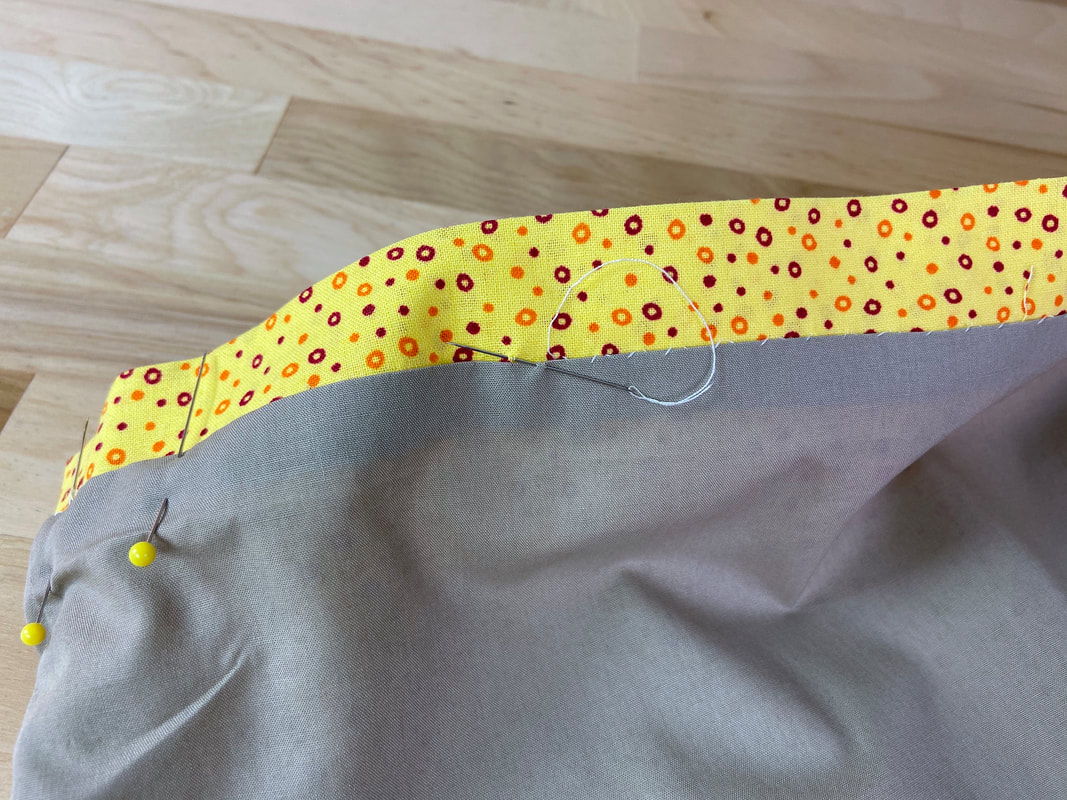
6. To seal the lining, slipstitch its folded edge to the garment's hem allowance underneath. To slipstitch, insert a stitch through the lining fold then catch 2-3 threads from the garment's hem allowance layer (only).
There should be no visible stitching on the garment's face side.
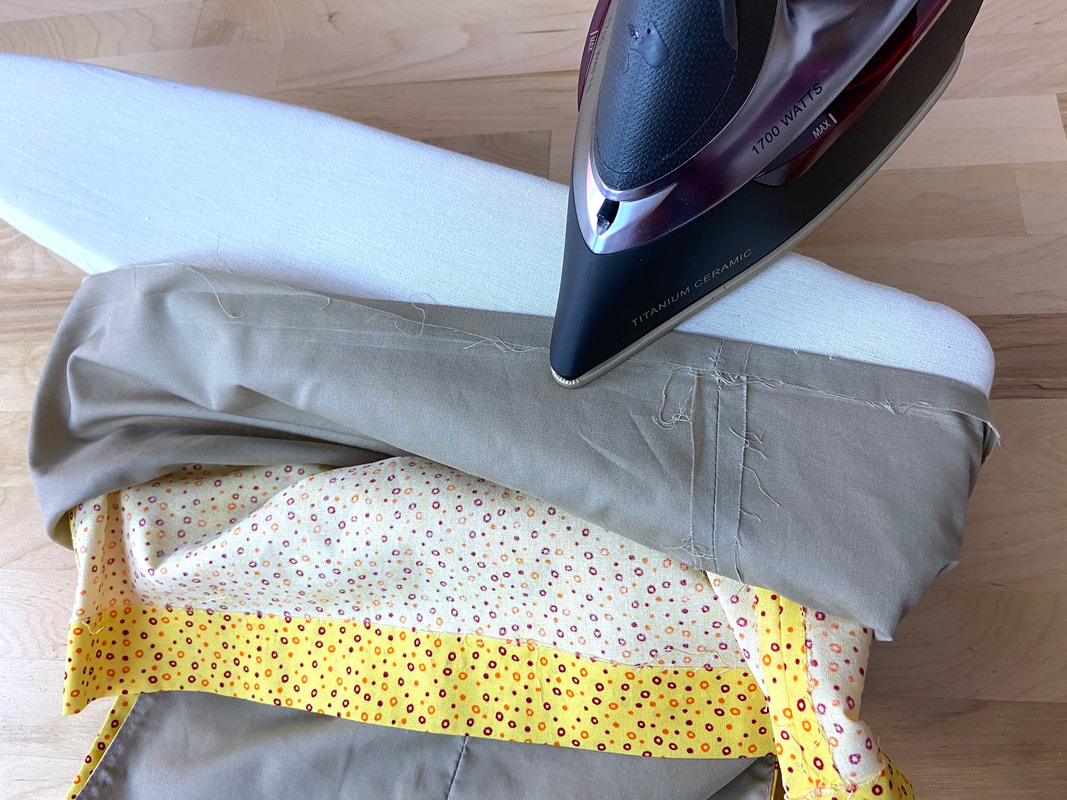
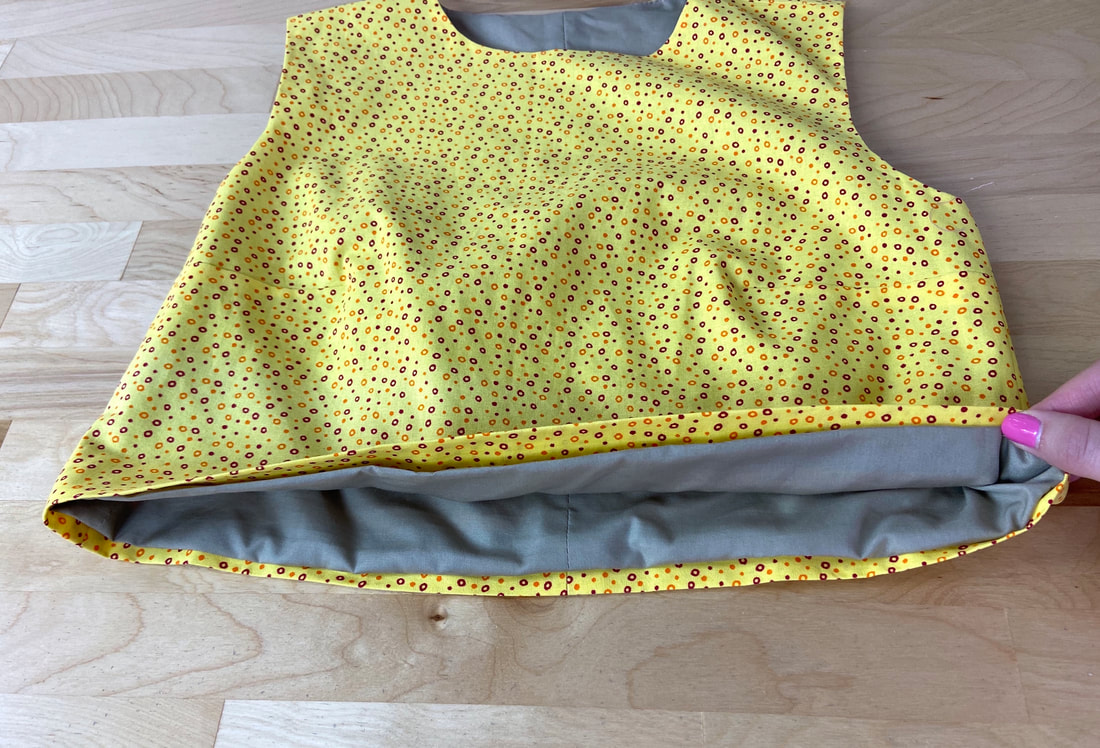
Last but not least, bring the lining layer over the slipstitched edges, and gently iron the lining fold created at the bottom. The finished lining should not be visible from the hemline's face side with all hand stitching being hidden underneath this final fold.

