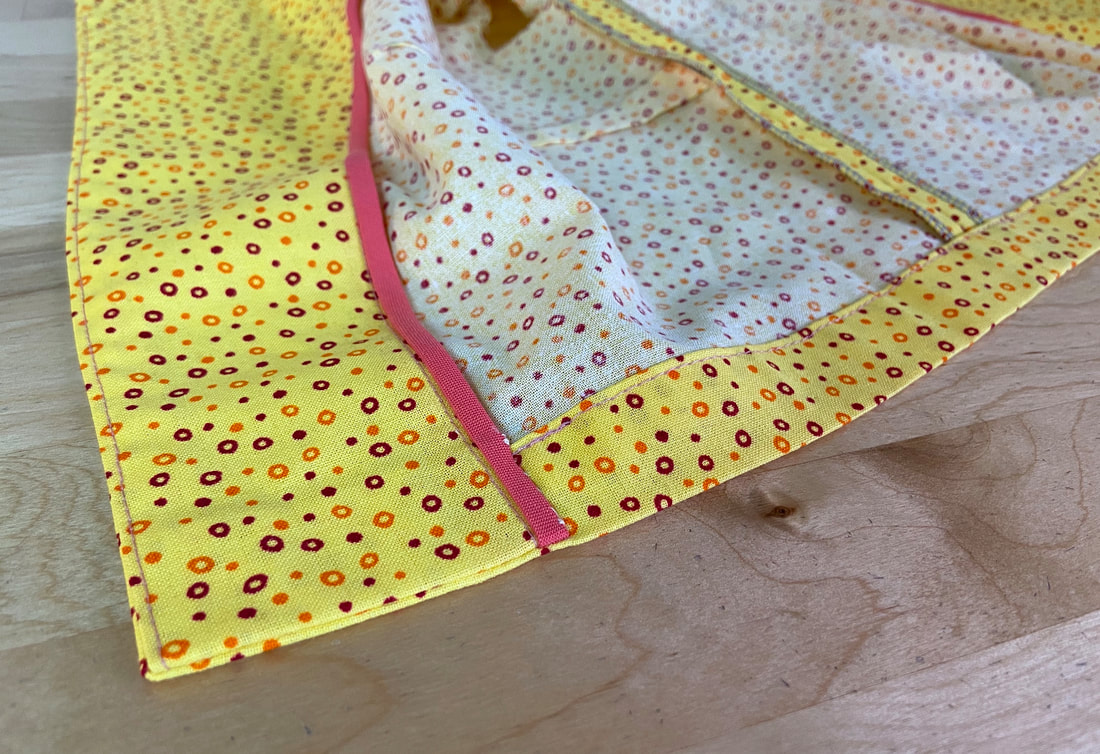
Two Ways To Finish Faced Hem Corners (Open-Front Garments)
If you are sewing a garment that has an open-front facing, perhaps one of your greatest challenge (as a sewing beginner) will be clean-finishing the facing at the hem. Regardless of the technique you use, a faced hem corner should be well-defined and lay flat, blending seamlessly into the rest of the garment's hem.
There are two conventional techniques you can use to finish a faced corner: one is completed by machine, the other is applied by hand. Regardless of which you prefer, if the fabric layers are folded and ironed correctly, both methods will result in a clean, professional finish.
There are two conventional techniques you can use to finish a faced corner: one is completed by machine, the other is applied by hand. Regardless of which you prefer, if the fabric layers are folded and ironed correctly, both methods will result in a clean, professional finish.
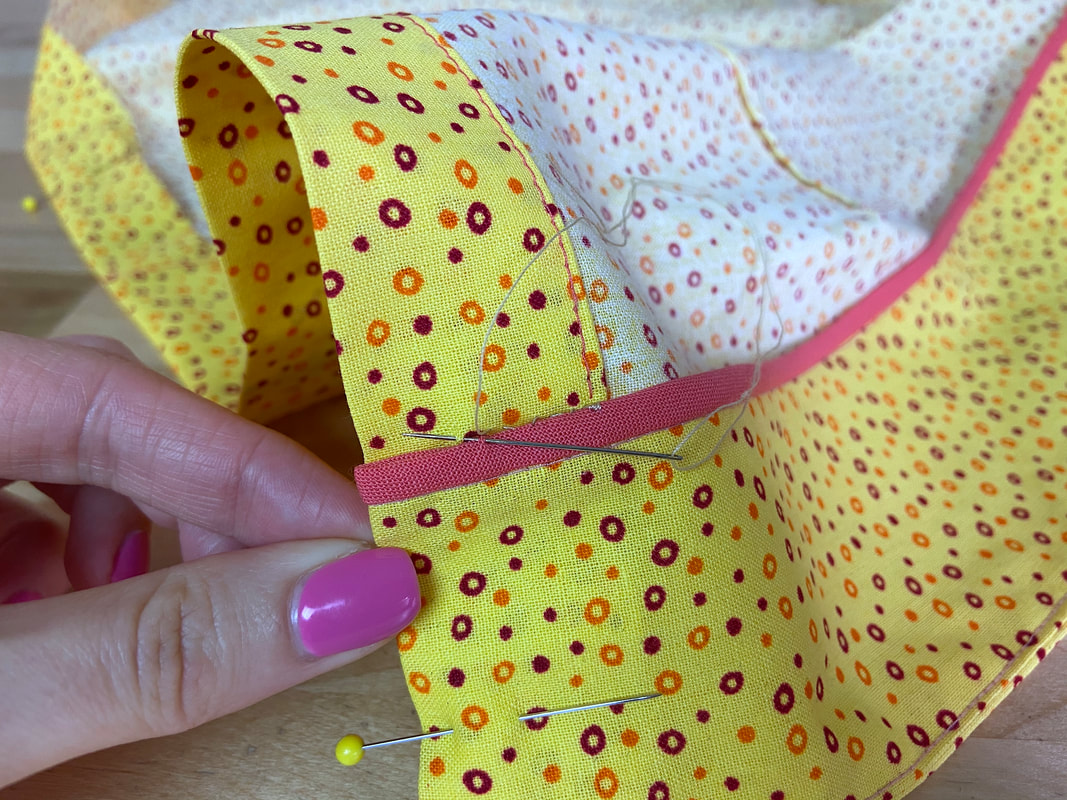
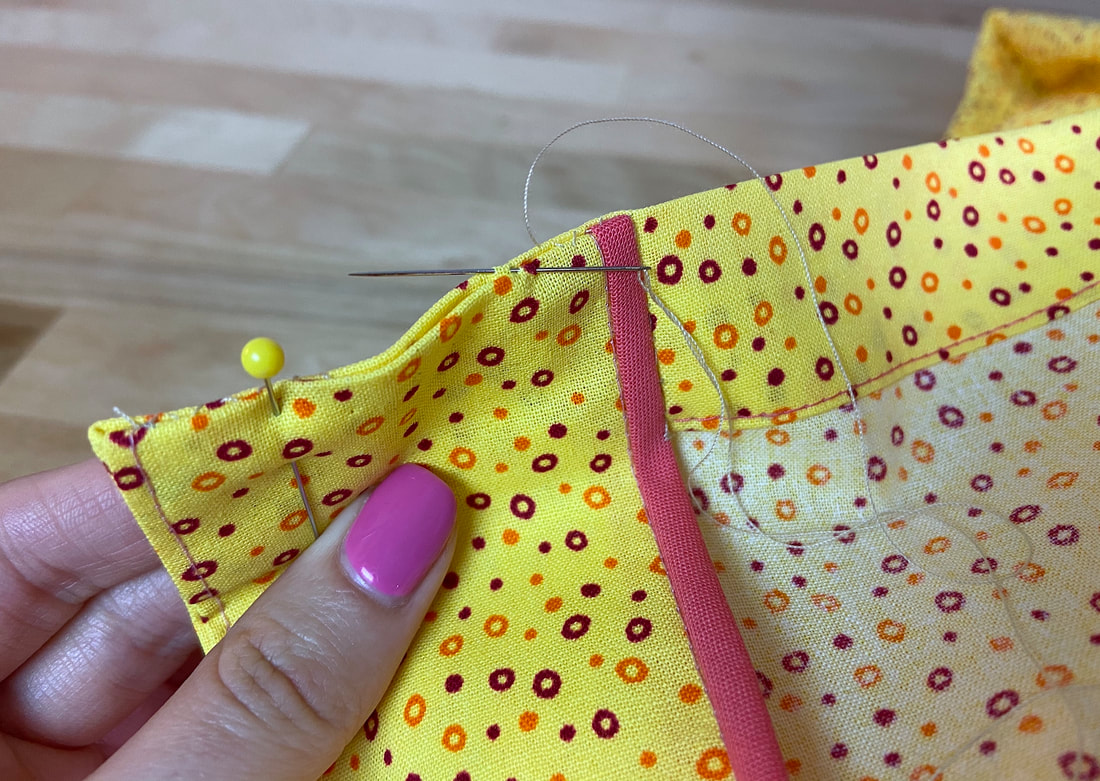
A hand-applied corner finish is completed using a blind stitch application called slipstitching. The stitch, especially if applied with matching color thread, should disappear along the folded faced edges resulting in what looks like a machine finish.
To seal the facing at the hem by hand, fold the facing layer in its natural position using the garment's hemline as a guide.
Slipstitch the facing's vertical open edge to the garment's hem allowance layer underneath until you arrive at the faced hemline. At this point, continue slipstitching the facing's folded edge to the garment's folded hemline to seal the two edges shut.
Note: A slipstitch that is applied from fold to fold is called an even slipstitch.
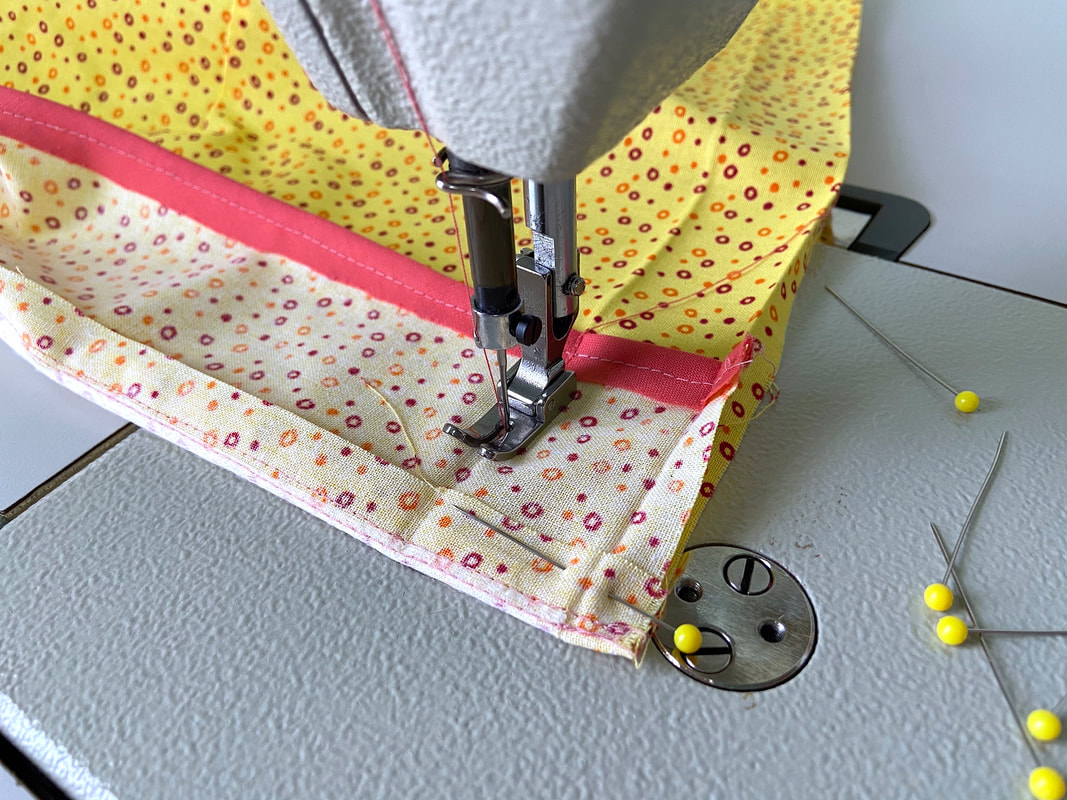
You can finish a faced hem corner using a machine stitch by flipping the facing layer over the finished (faced) edge such that the facing and garment layers are touching and the hem allowance edges are perfectly aligned.
In this position, stitch the facing to the garment layer following the hemline as guide. It helps to either transfer your hemline to the garment layers by marking with tailor's chalk, or creasing the line with an iron (pictured above).
In this position, stitch the facing to the garment layer following the hemline as guide. It helps to either transfer your hemline to the garment layers by marking with tailor's chalk, or creasing the line with an iron (pictured above).
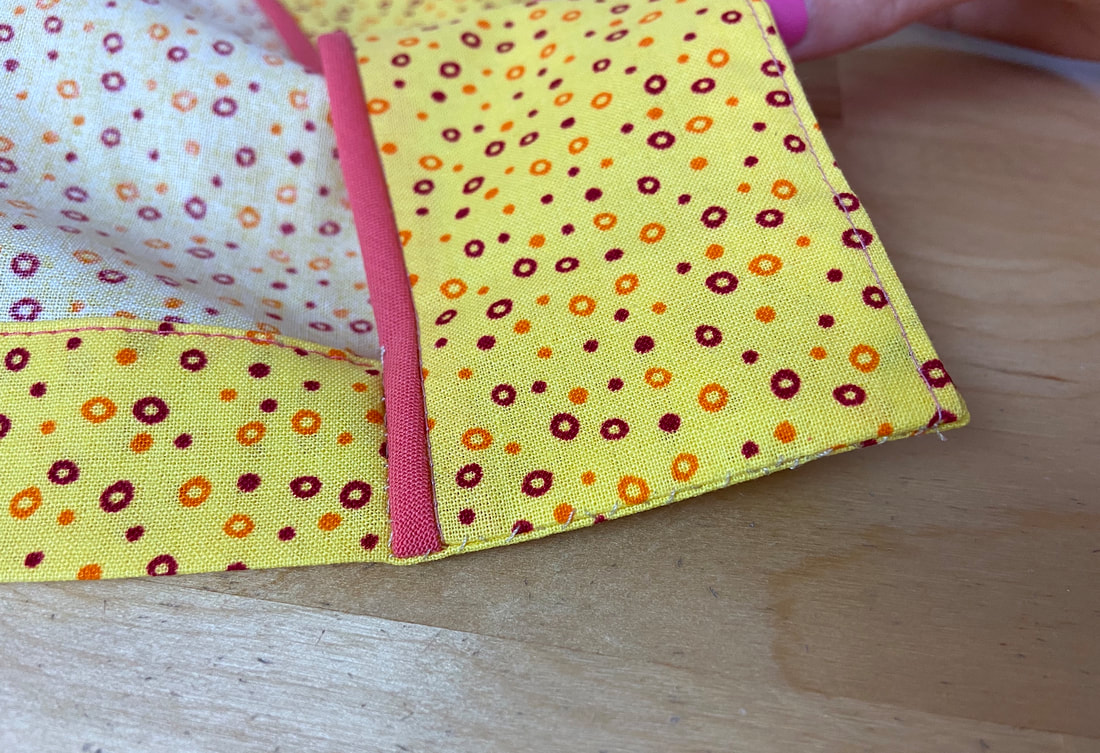
When the stitched faced corner is flipped on its right side and placed in its natural position, the clean-finished edge should blend into the hemline's folded edge. The resulting corner should have sharp, well-defined edges.
As a final step, always iron the completed faced corner to smooth and flatten the layers.
As a final step, always iron the completed faced corner to smooth and flatten the layers.

