
Sewing Faced Hemline Corners: Overview And Conventions

You'll find yourself having to clean finish a faced hem corner when sewing a garment's opening that is fully faced. This is often the case with open-front garments like tailored jackets and coats.
The resulting faced corner should be a sharp, flat structure that blends seamlessly into the rest of the garment's hemline and its vertical faced edge.
The resulting faced corner should be a sharp, flat structure that blends seamlessly into the rest of the garment's hemline and its vertical faced edge.
|
A finished hem corner should be well-defined and lay flat without adding unnecessary bulk or thickness at the garment's hem.
There are a few folding and excess trimming techniques that will ensure a perfect finish that always works in conjunction with the rest of the garment.
There are a few folding and excess trimming techniques that will ensure a perfect finish that always works in conjunction with the rest of the garment.
|
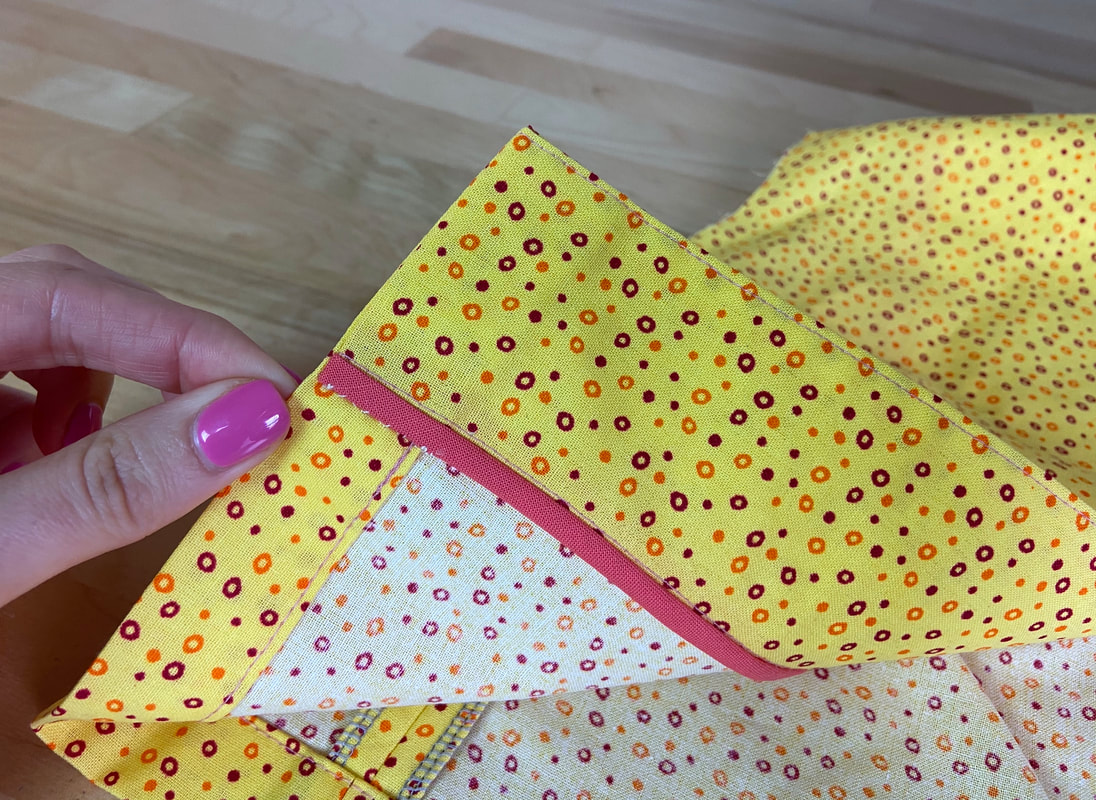
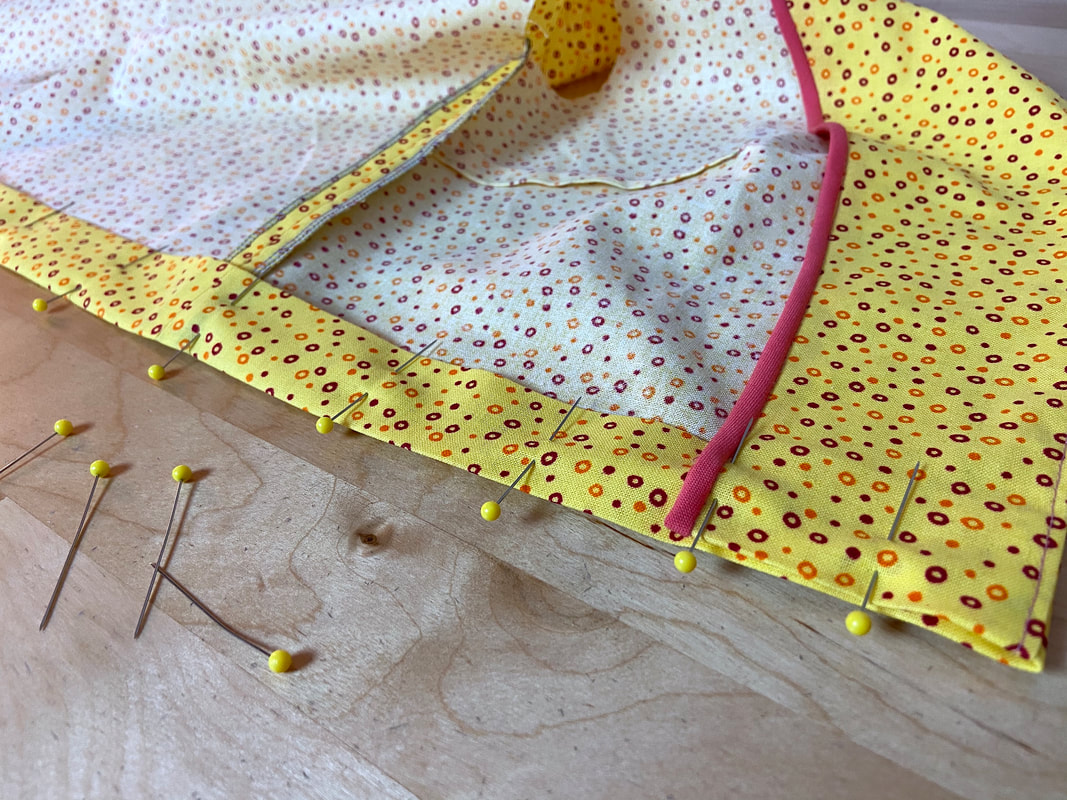
Before finishing the facing's hem edge it is important to first clean-finish the facing's open edge (applies to unlined garment only). This edge will be quite difficult to finish once the hemline and faced hem corner are complete.
In the example above, the facing edge is clean-finished with a hong kong technique using a bias fabric strip.
In the example above, the facing edge is clean-finished with a hong kong technique using a bias fabric strip.
|
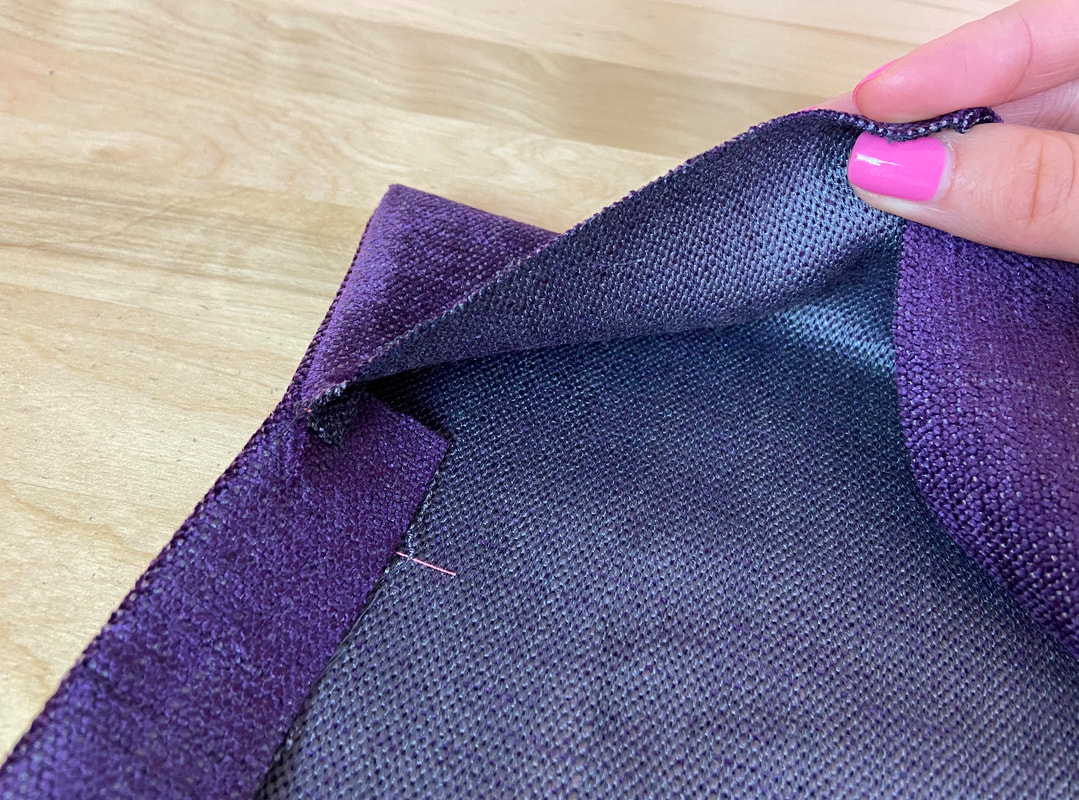
Don't forget to fully interface the facing area. You should be able to extend the facing away from the rest of the garment in a flat layer as pictured above. This flexibility will allow you to finish the corner edge both by hand and by machine.
|
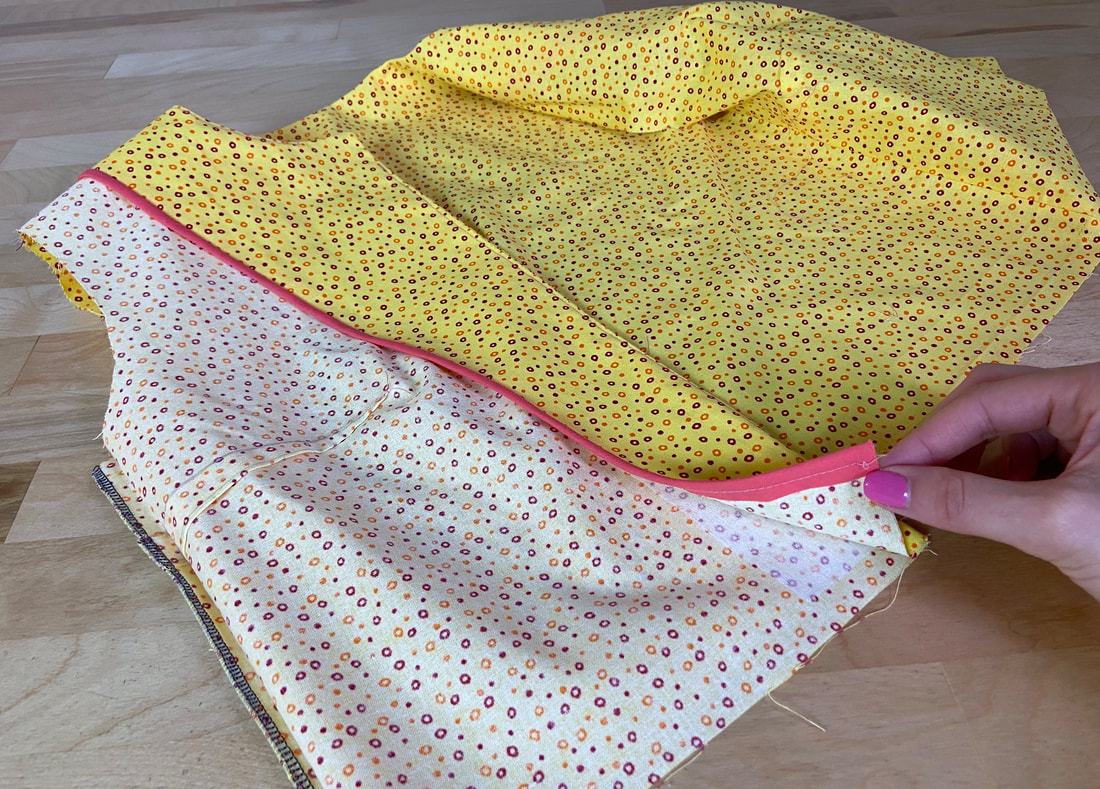
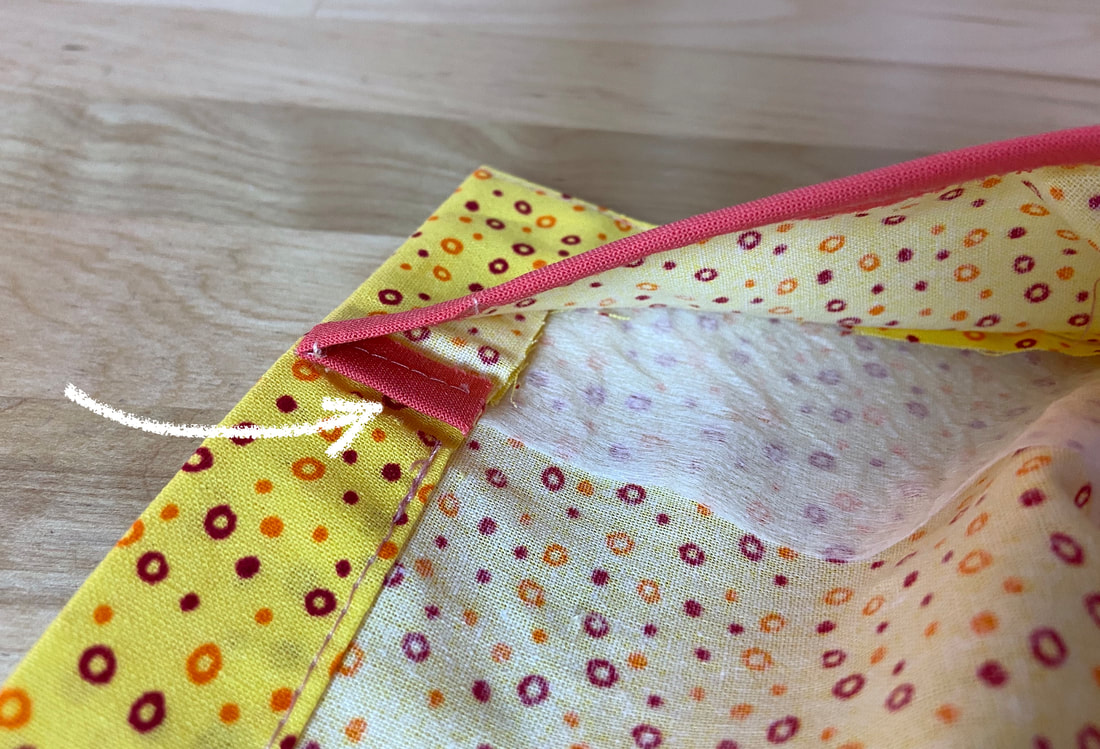
As always, the fastest way to complete a faced hem corner is by machine.
In this case, the facing is flipped over the finished garment edges such that its wrong side is exposed and its right side touches the garment's face side. The facing is then stitched, blending into the rest of the garment's hemline.
Note: It helps to mark or crease the final hemline beforehand so you can use it as a guide in the stitching process.
If the garment's hem allowance will be double folded in the clean-finishing process, trim the excess seam allowance at the facing area. Doing so will allow the top hem allowance fold to remain smooth, encouraging the finished faced area to remain flat and bulk-free.
|
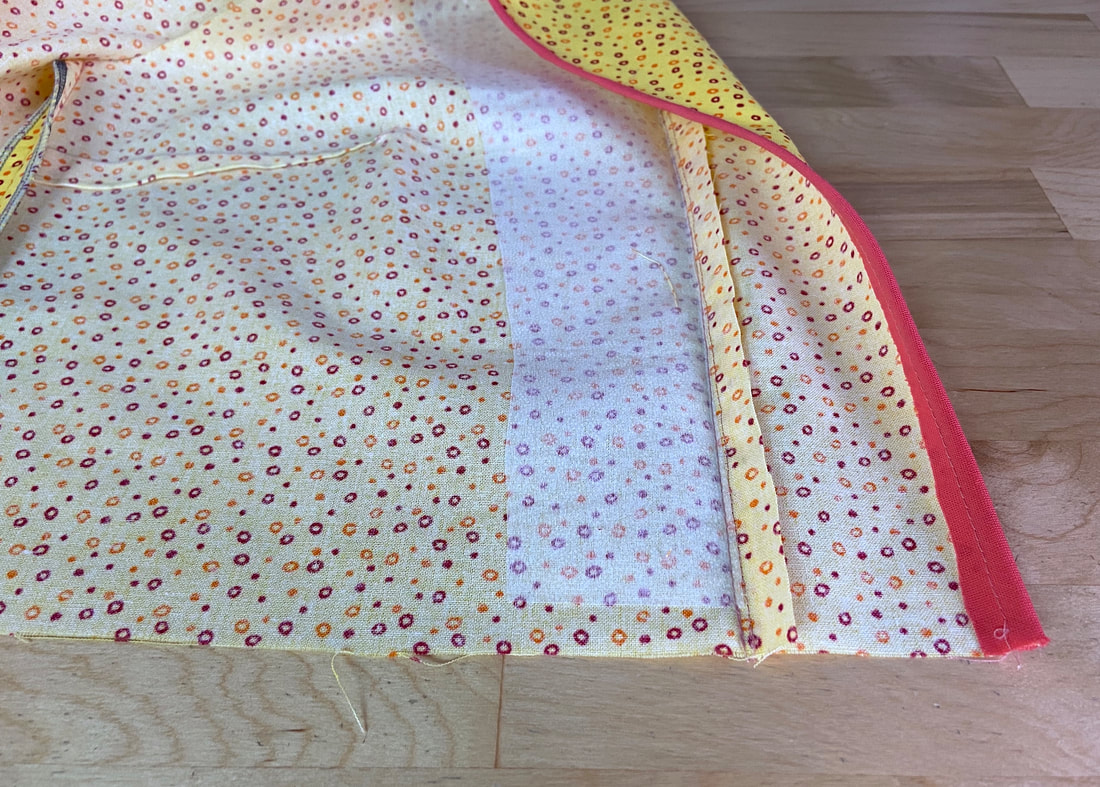
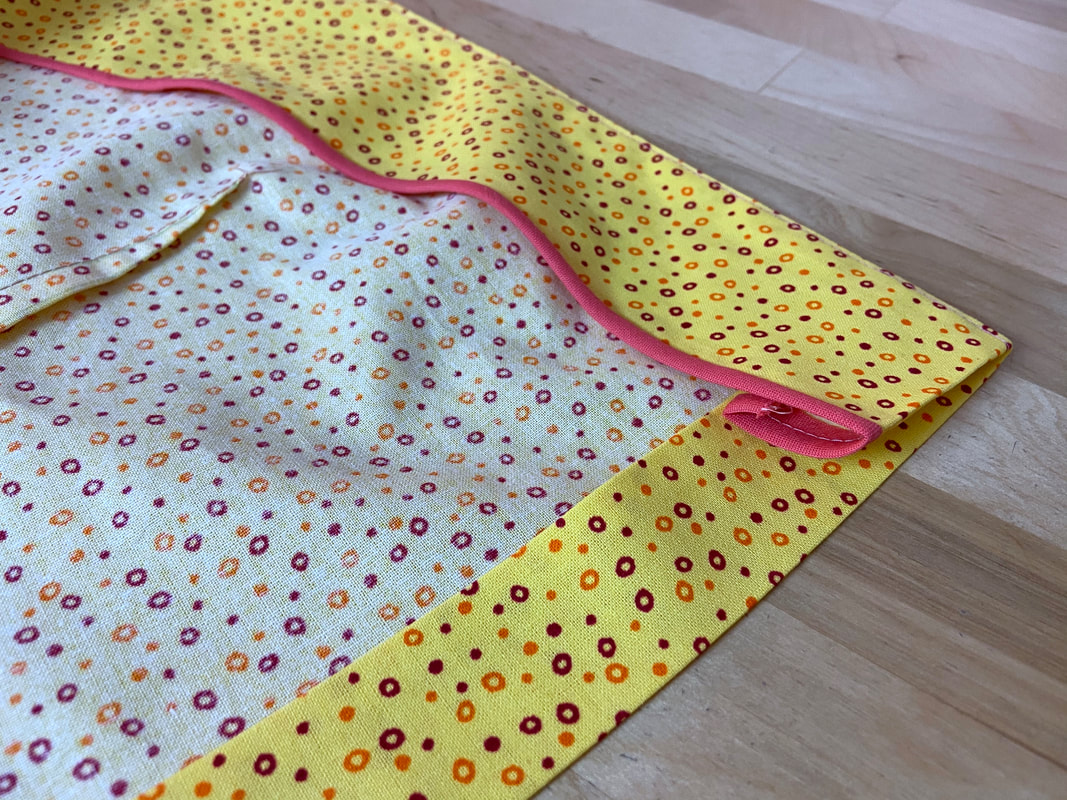
When flipping the facing onto its finished, natural position, the hem allowance layers should blend smoothly under the facing layer. The folded (hidden) hem allowance, sandwiched between the facing and garment layer, should also lay flat and add no significant bulk and thickness to the finished faced edges.
|
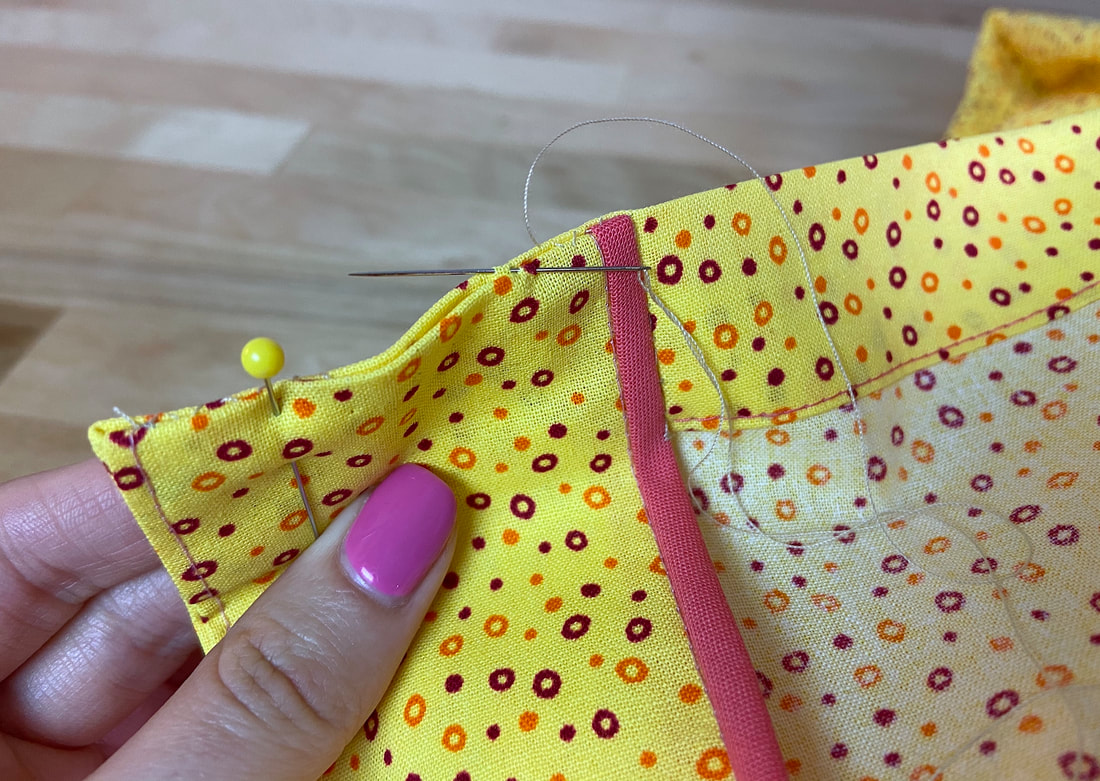
If finishing the faced hem corner by hand, the hem allowance (at the facing area) is simply folded in, following the rest of the garment's hem.
In this example, the hem allowance was folded twice to encase all fabric raw edges, both along the garment and facing's bottom edge. The facing layer was then brought back to its natural position to complete the faced corner and encase all fabric raw edges.
In this example, the hem allowance was folded twice to encase all fabric raw edges, both along the garment and facing's bottom edge. The facing layer was then brought back to its natural position to complete the faced corner and encase all fabric raw edges.
|
To seal the faced corner, a slipstitch is used to connect the facing's bottom folded edge to that of the garment's hemline. The slipstitch is applied from fold to fold to achieve an application with (almost) no visible stitching along the garment's finished hem.
|
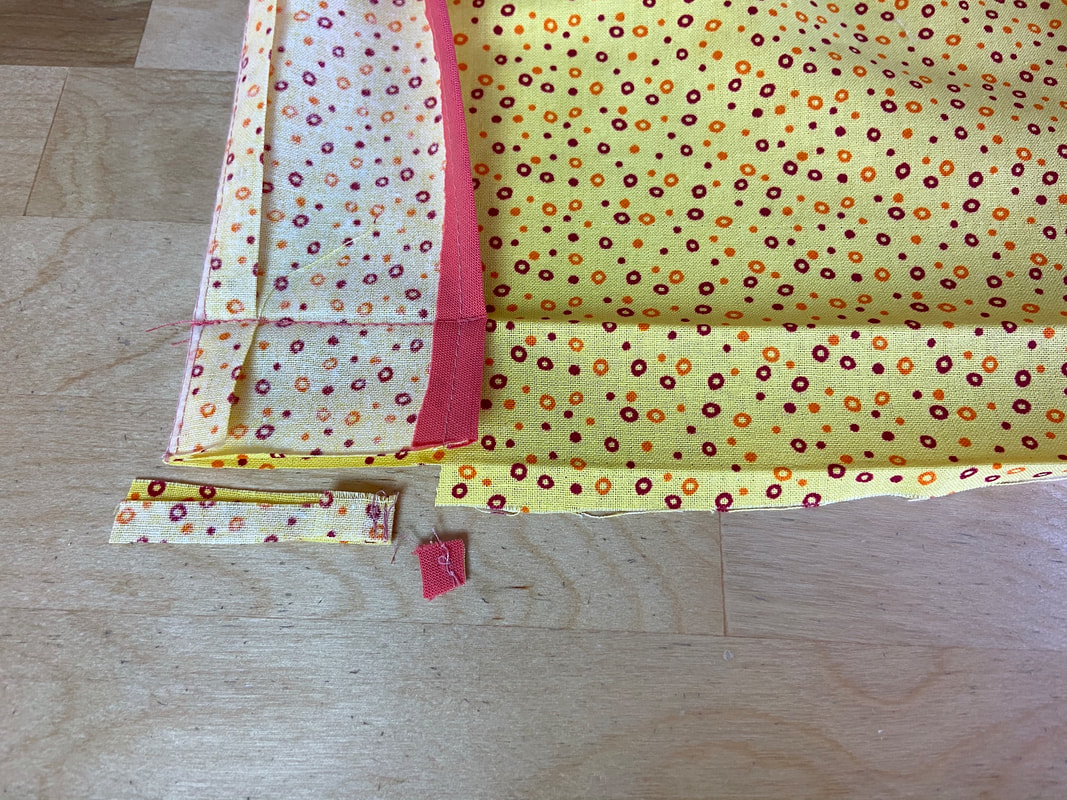
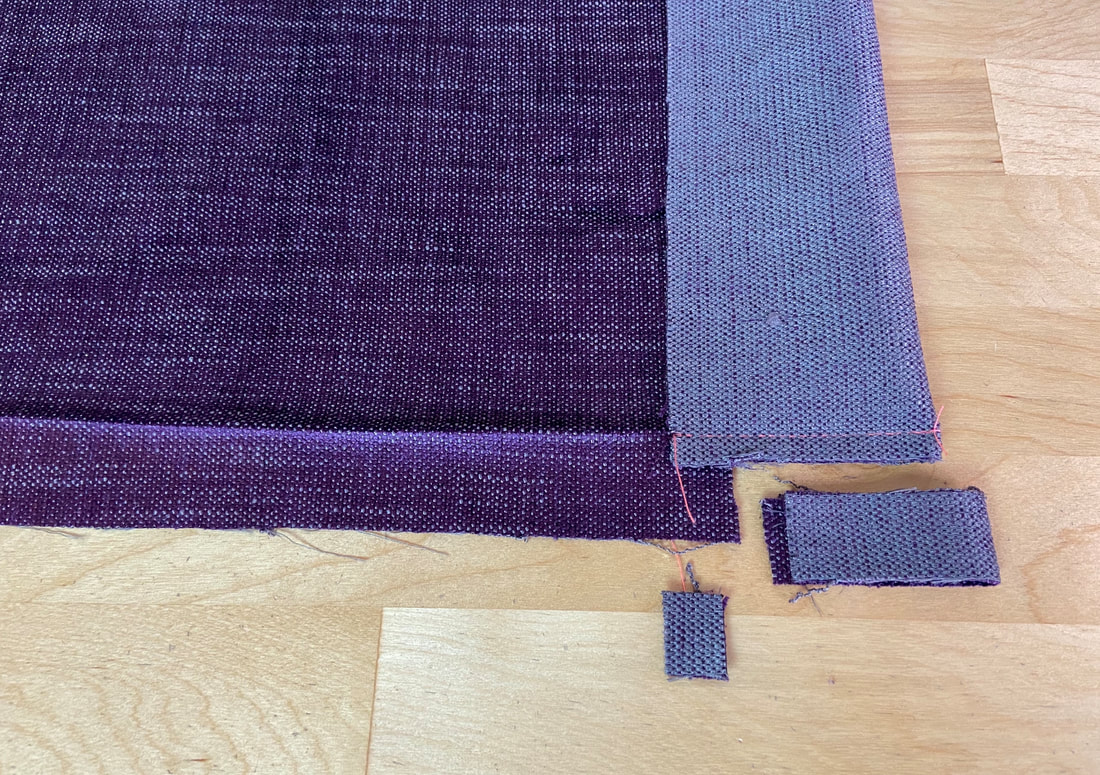
Keep in mind that at the faced corner, at least four separate fabric layers overlap to enclose the hem allowance edges. If working with a particularly thick fabric, these layers may cause excess bulk and thickness thus preventing the finished faced corner from laying flat. If this is the case, trim most of the hem allowance excess that meets at the corner. Leave anywhere from 1/4" to 1/2" hem allowance.
|
When the facing is turned on its right side, the faced corner will be less bulky, maintaining a well-defined, flat finish.
|
It is also important to consider the rest of the garment's hem allowance in relation to the finished faced corner. These two portions should blend smoothly and seamlessly into one another creating a smooth, continuous finished hemline.
When choosing how to fold and finish the faced hem corner, consider how the rest of the garment's hem will be finished as this will provide some insight into the best approach.
When choosing how to fold and finish the faced hem corner, consider how the rest of the garment's hem will be finished as this will provide some insight into the best approach.
