
Mini Tutorial: How To Finish A Leather Hem With Adhesive
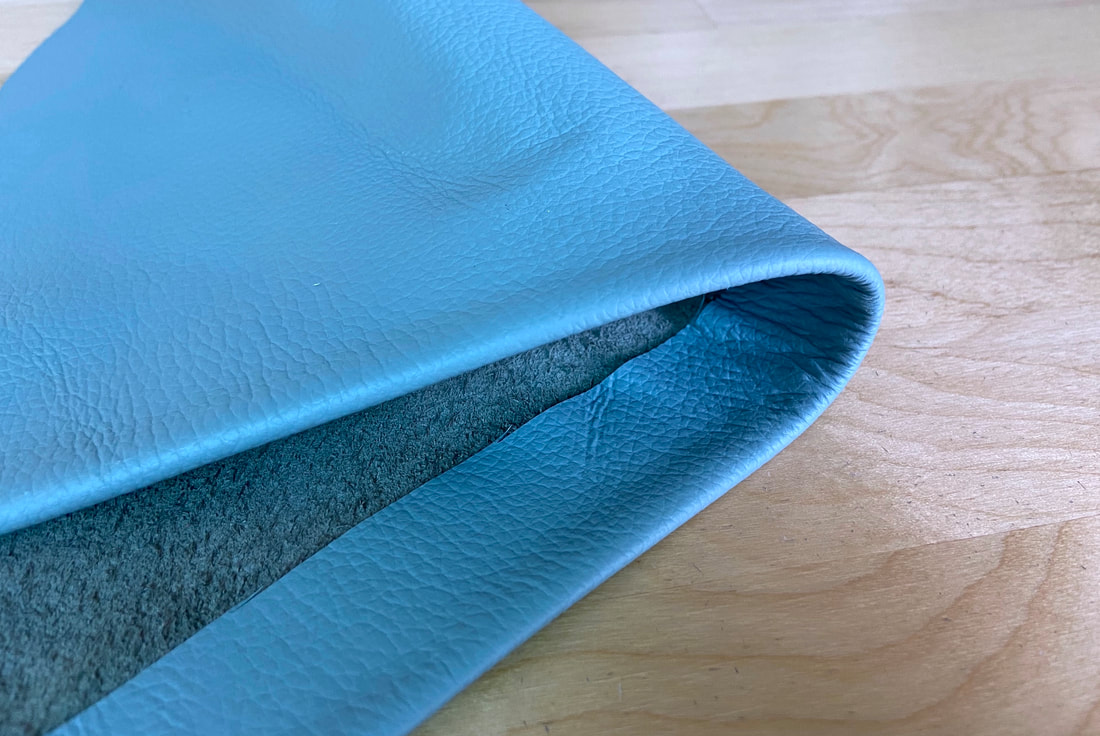
Leather is one of those materials that plays by its own rules. If you are sewing a leather garment, or just working on a leather project, and need to finish an edge (such as the garment's hemline) without any visible topstitching, a leather glue may be your best bet.
|
Leather adhesive or cement is designed specifically for leather, permanently bonding layers together without staining the finished folded-up edge. The dried adhesive remains flexible without stiffening or compromising the finished edge.
When clean-finishing a garment's hem using leather glue/cement, here are the basic steps you should follow:
When clean-finishing a garment's hem using leather glue/cement, here are the basic steps you should follow:
|
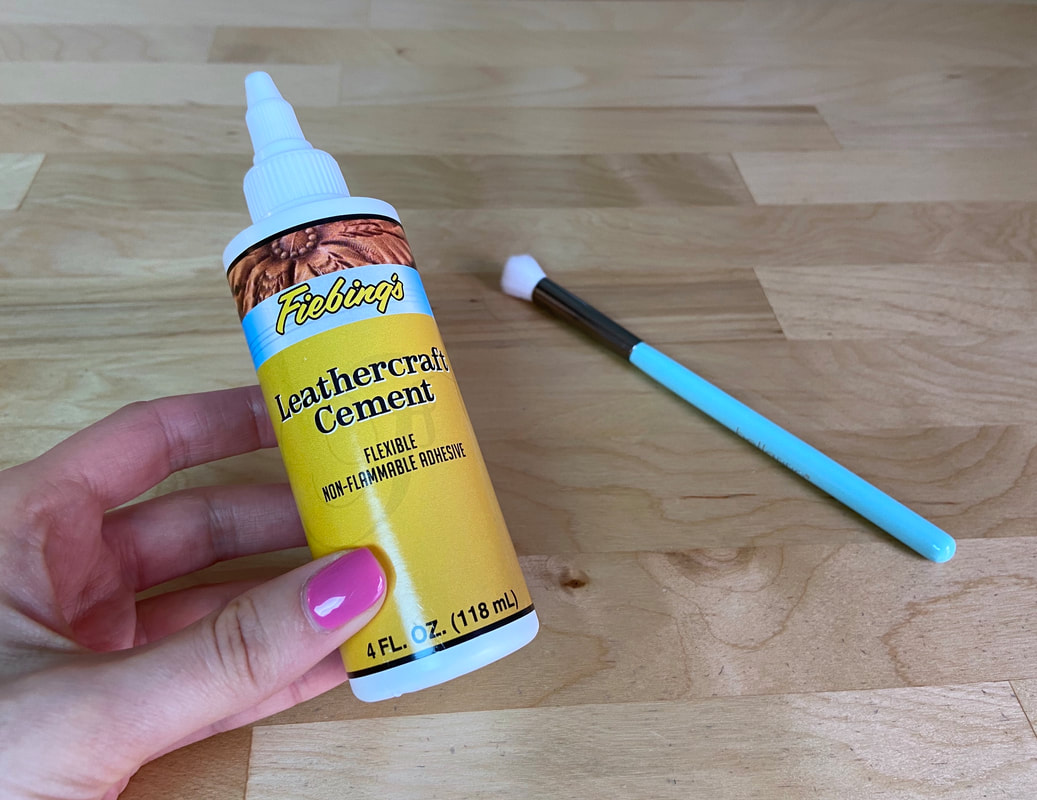
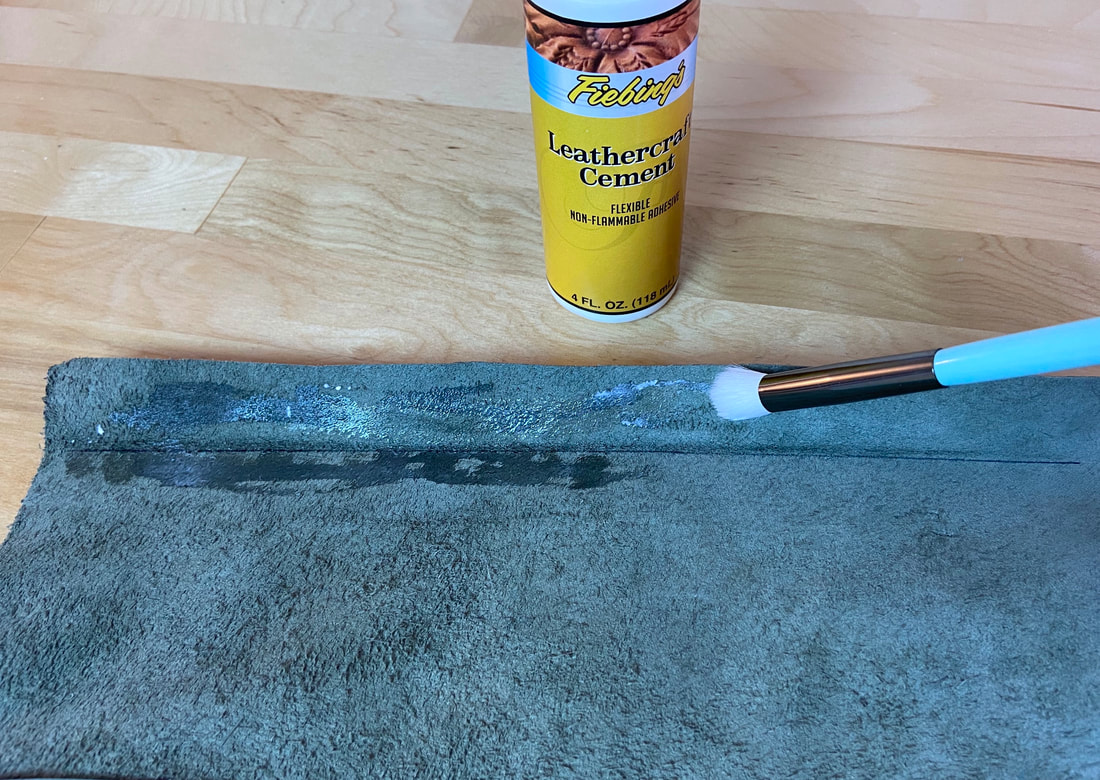
Start by purchasing a glue or cement that is designated for use with leather fabrics. These adhesives are able to bond well with the leather's texture an do not bleed through the fabric layers. They are designed to maintain a flexible hand once dry.
You can find leather glues at almost all craft and fabric stores or online. In addition to the glue, you'll need a brush to spread the adhesive evenly onto the leather surface- any soft head brush will do the trick.
You can find leather glues at almost all craft and fabric stores or online. In addition to the glue, you'll need a brush to spread the adhesive evenly onto the leather surface- any soft head brush will do the trick.
|
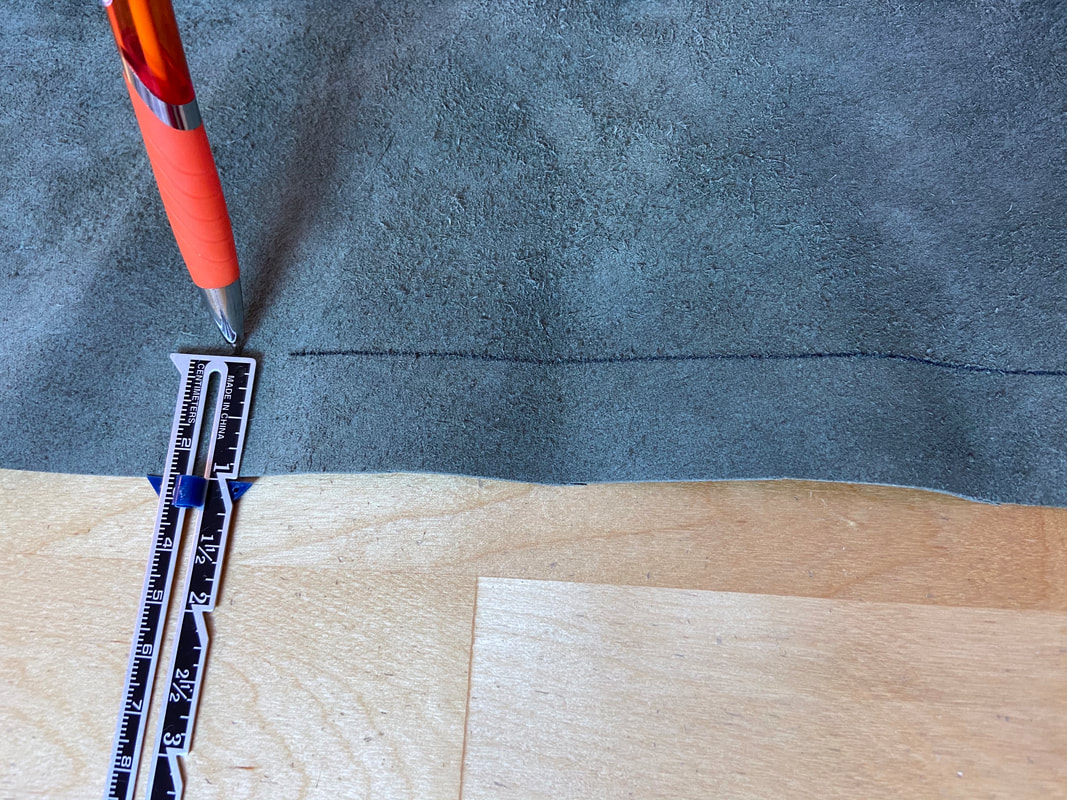
It helps to transfer the hemline directly on the leather garment. Leather is a material very easy to mark on.
1. Simply measure the hem allowance distance from the edge up using a gage pointer (shown above) or a ruler, and mark the hemline with pen.
Add all your markings to the leather's wrong side. These lines should not be visible once the hem is folded and finished.
1. Simply measure the hem allowance distance from the edge up using a gage pointer (shown above) or a ruler, and mark the hemline with pen.
Add all your markings to the leather's wrong side. These lines should not be visible once the hem is folded and finished.
|
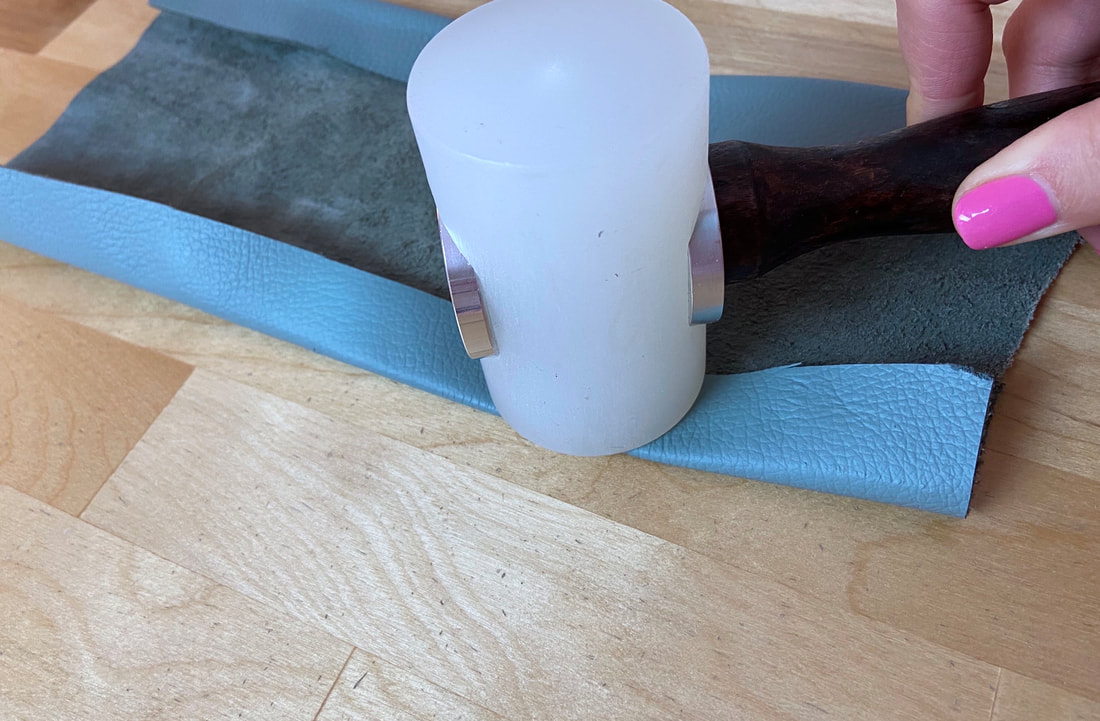
2. Fold the hem allowance up following the marked hemline as a guide. The fold line should fall directly on this marked line.
Hammer the folded edge using a mallet or curved-edge hammer. Creasing the fold at this stage will provide more comfort and accuracy in the gluing process to follow.
Hammer the folded edge using a mallet or curved-edge hammer. Creasing the fold at this stage will provide more comfort and accuracy in the gluing process to follow.
|
3. Apply the leather cement/glue to the hem allowance surface and the distance above the hemline that will be covered by the hem allowance once folded. Both layers should have a layer of cement or glue in order to adhere properly. As always, it is important to read the directions indicated on the glue packaging and follow them as accurately as possible in the application process.
|
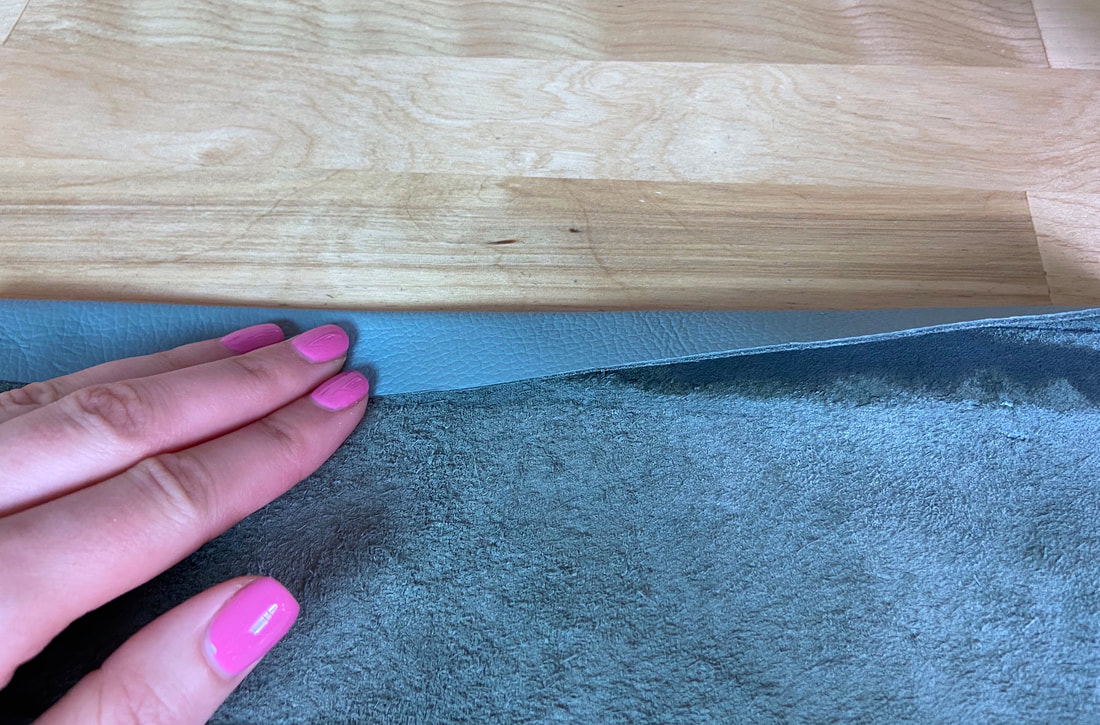
4. Once the glue is applied, simply fold the hem allowance layer back up following the direction of the crease applied in Step 2 above. Add pressure with your hand/fingers to help adhere the layers.
Depending on how long your leather glue/cement takes to dry, you may place the folded layers under a weightier object for a sturdier application.
Depending on how long your leather glue/cement takes to dry, you may place the folded layers under a weightier object for a sturdier application.
|
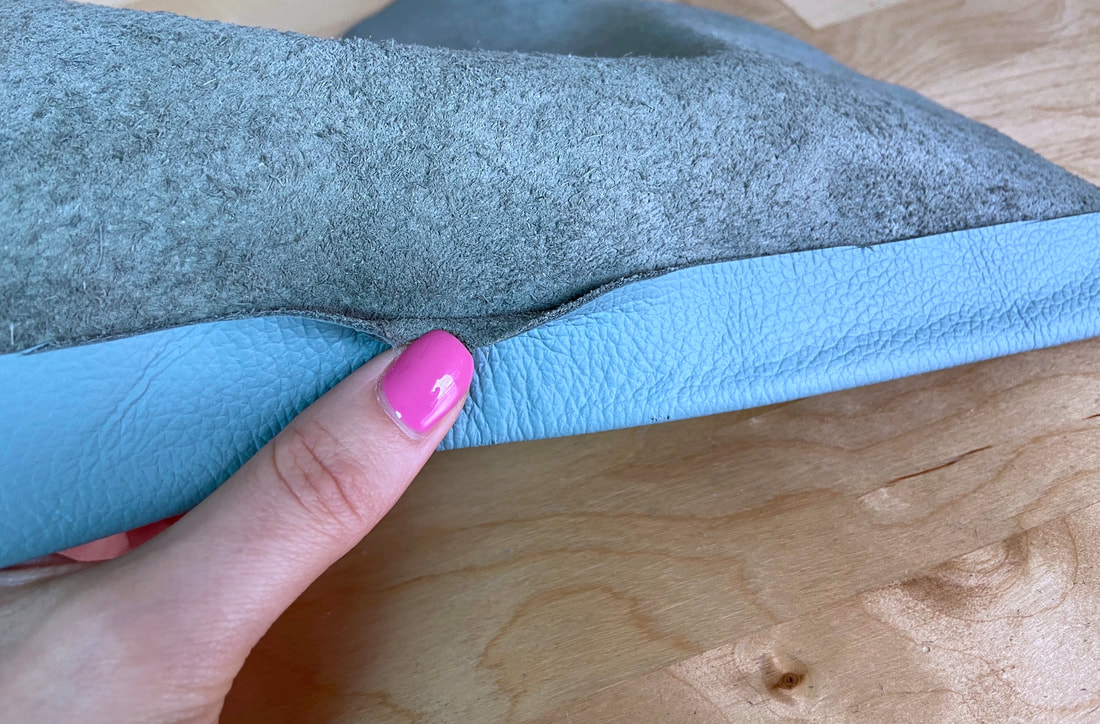
5. Once dried, the folded edge should lay completely flat and remain securely connected to the rest of the leather surface underneath. You should have no bleed-through or staining on either side of the application.
